
This project was done in partnership with The Home Depot
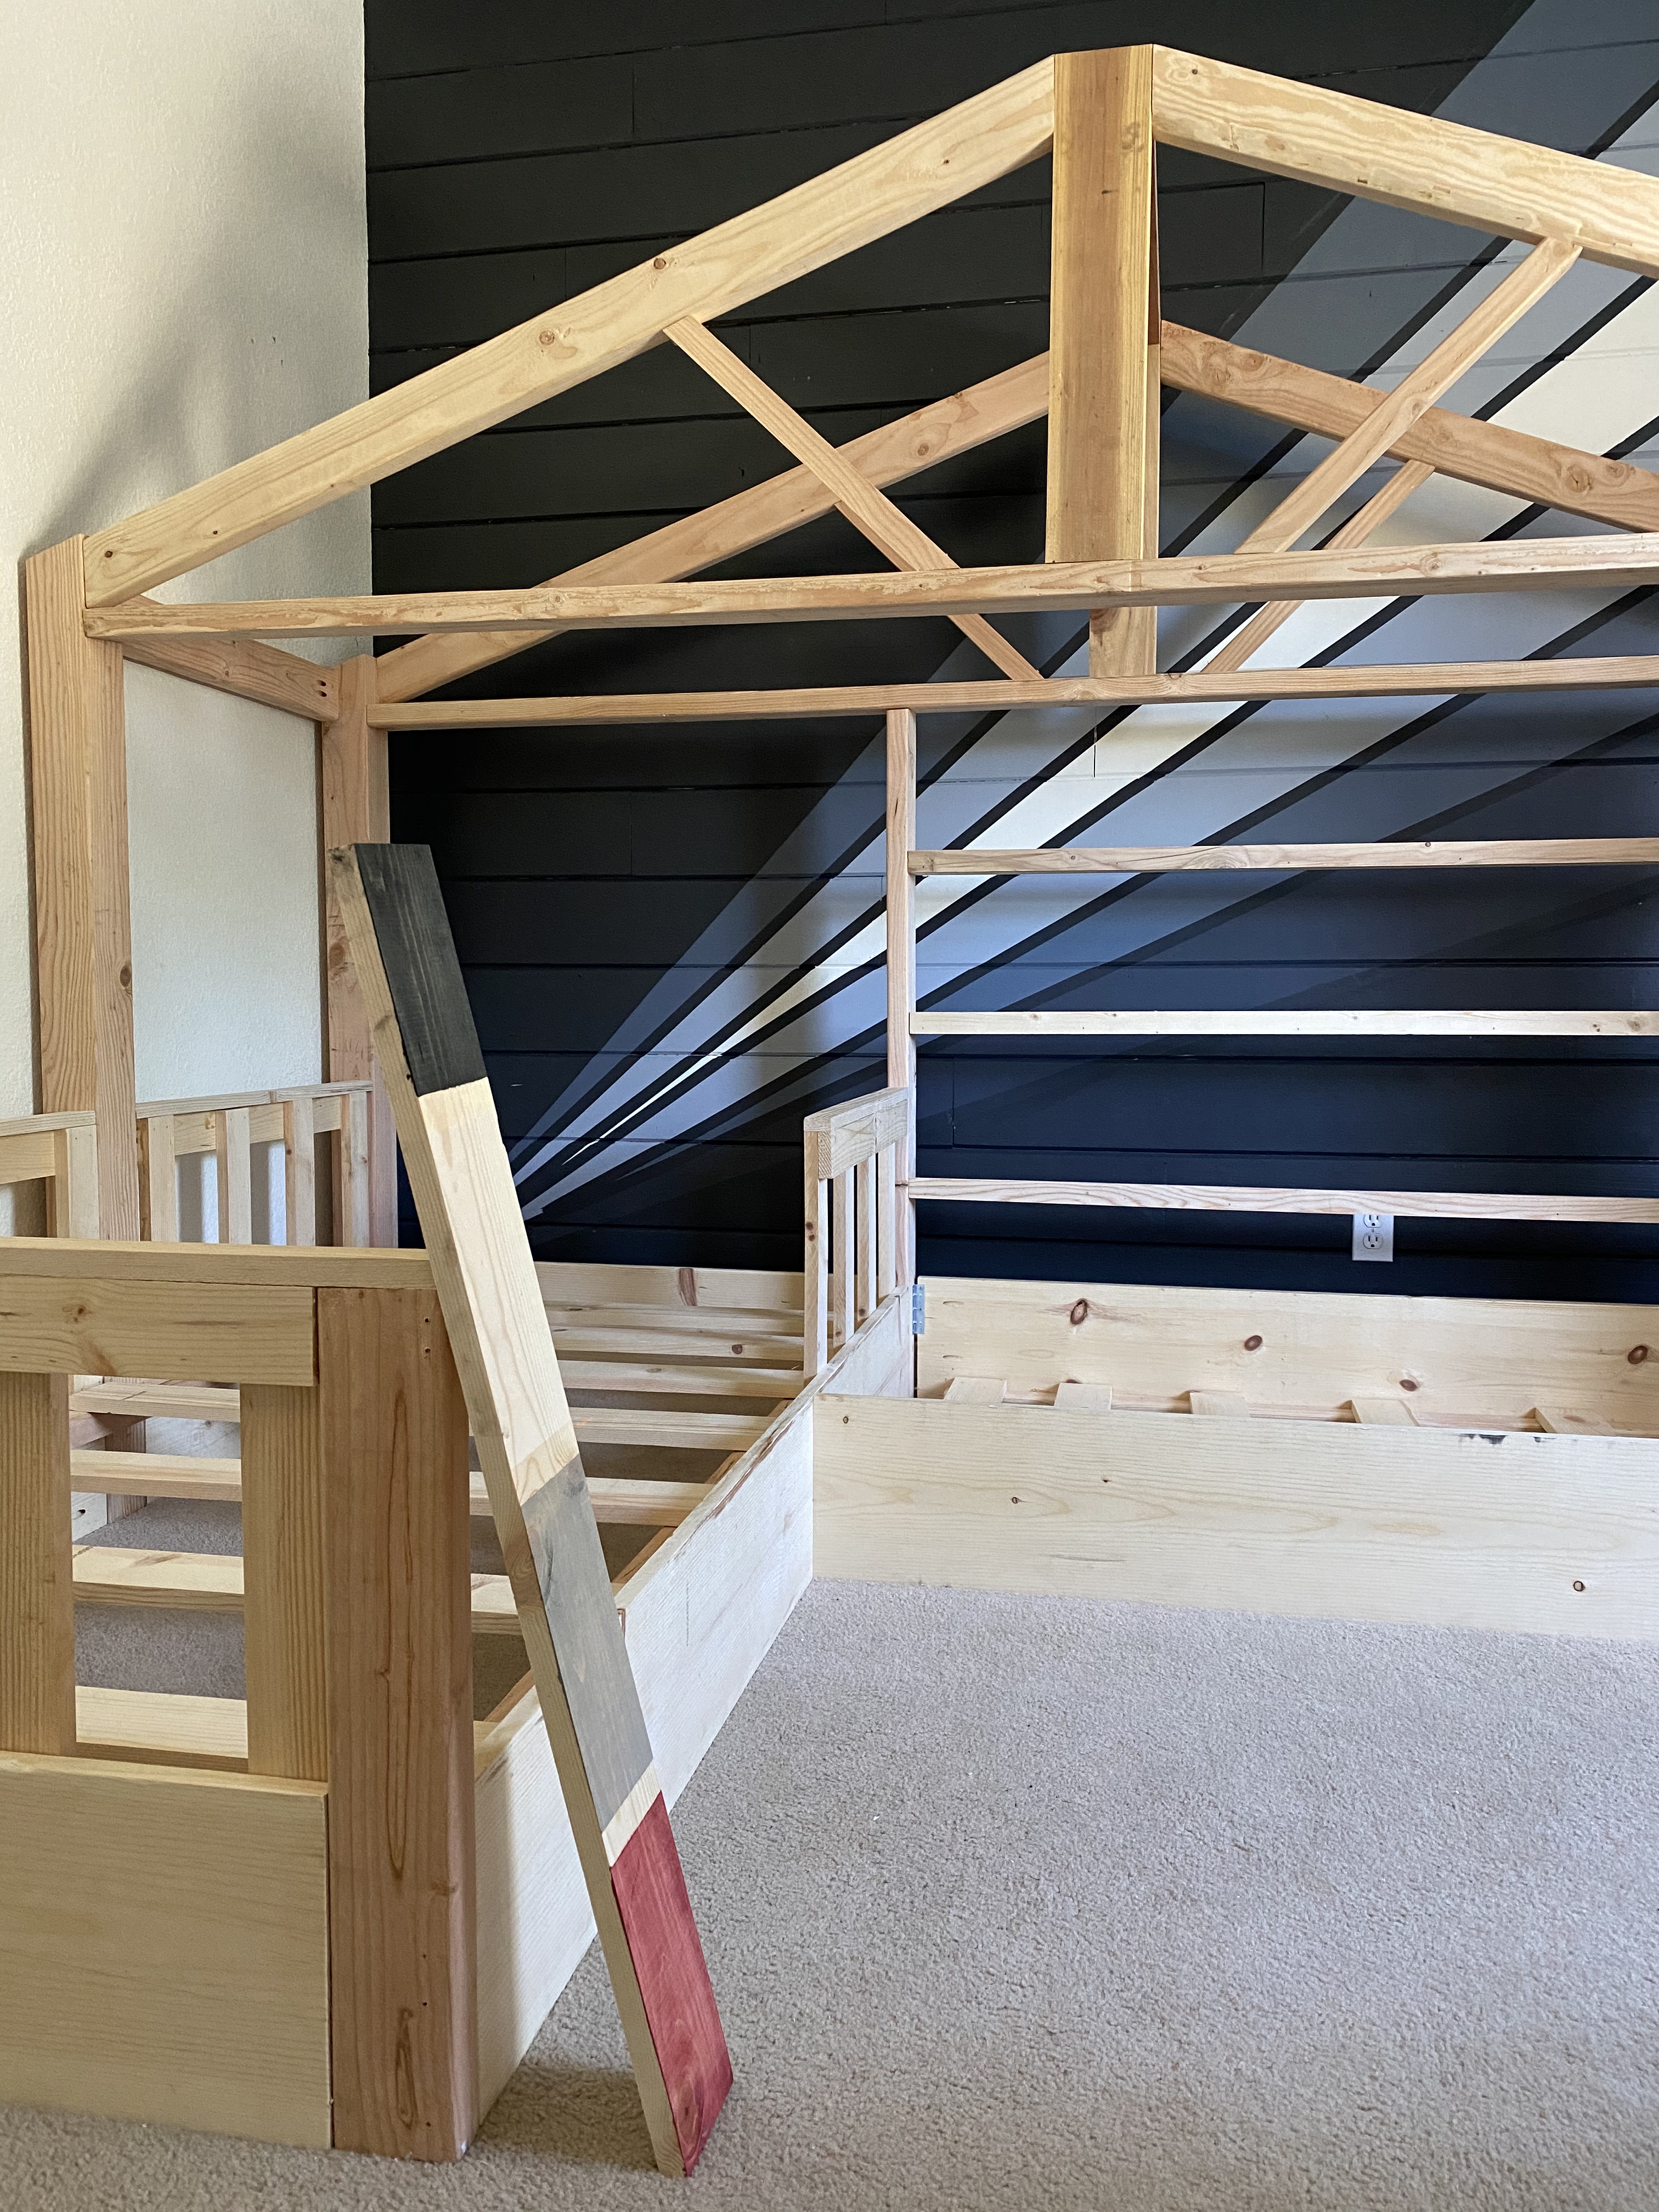
The last part of our son’s room makeover is underway with a custom house bed build! We partnered with The Home Depot on this project as they’ve had the tools and solutions for us to keep building all year long.
We are using these plans from BitterRoot DIY for a toddler house bed. Its a framed out structure made to house a twin bed and a daybed reading nook. I cannot wait to get creative with seasonal decorations on his little house!

I like to plan our projects, whether big or small down to every last detail that I possibly can. I not only source all of my supplies from The Home Depot website, I also do project research using the available project How-To guides. Prep is key for us especially when attempting a first time project like this one. The more we know and are ready for, the better.

As usual, I made my project shopping list and placed my order online via my favorite mobile app. I like that I can see what my in store pick up options are for the items I order as I go and choose what is most convenient for me at that moment.


I always know what to expect when I place my orders with The Home Depot because it is spelled out every step of the way.


With our supplies in hand, we got to work!

The instructions for the build called for the use of a finish nailer, which I had never used. I quickly pulled up Home Depot’s “Brad Nails vs Finish Nails” guide and the “Best Nail Guns for Your Project”. These quick references gave me a better understanding on why the finish nailer was necessary and why I couldn’t just use my brad nailer.

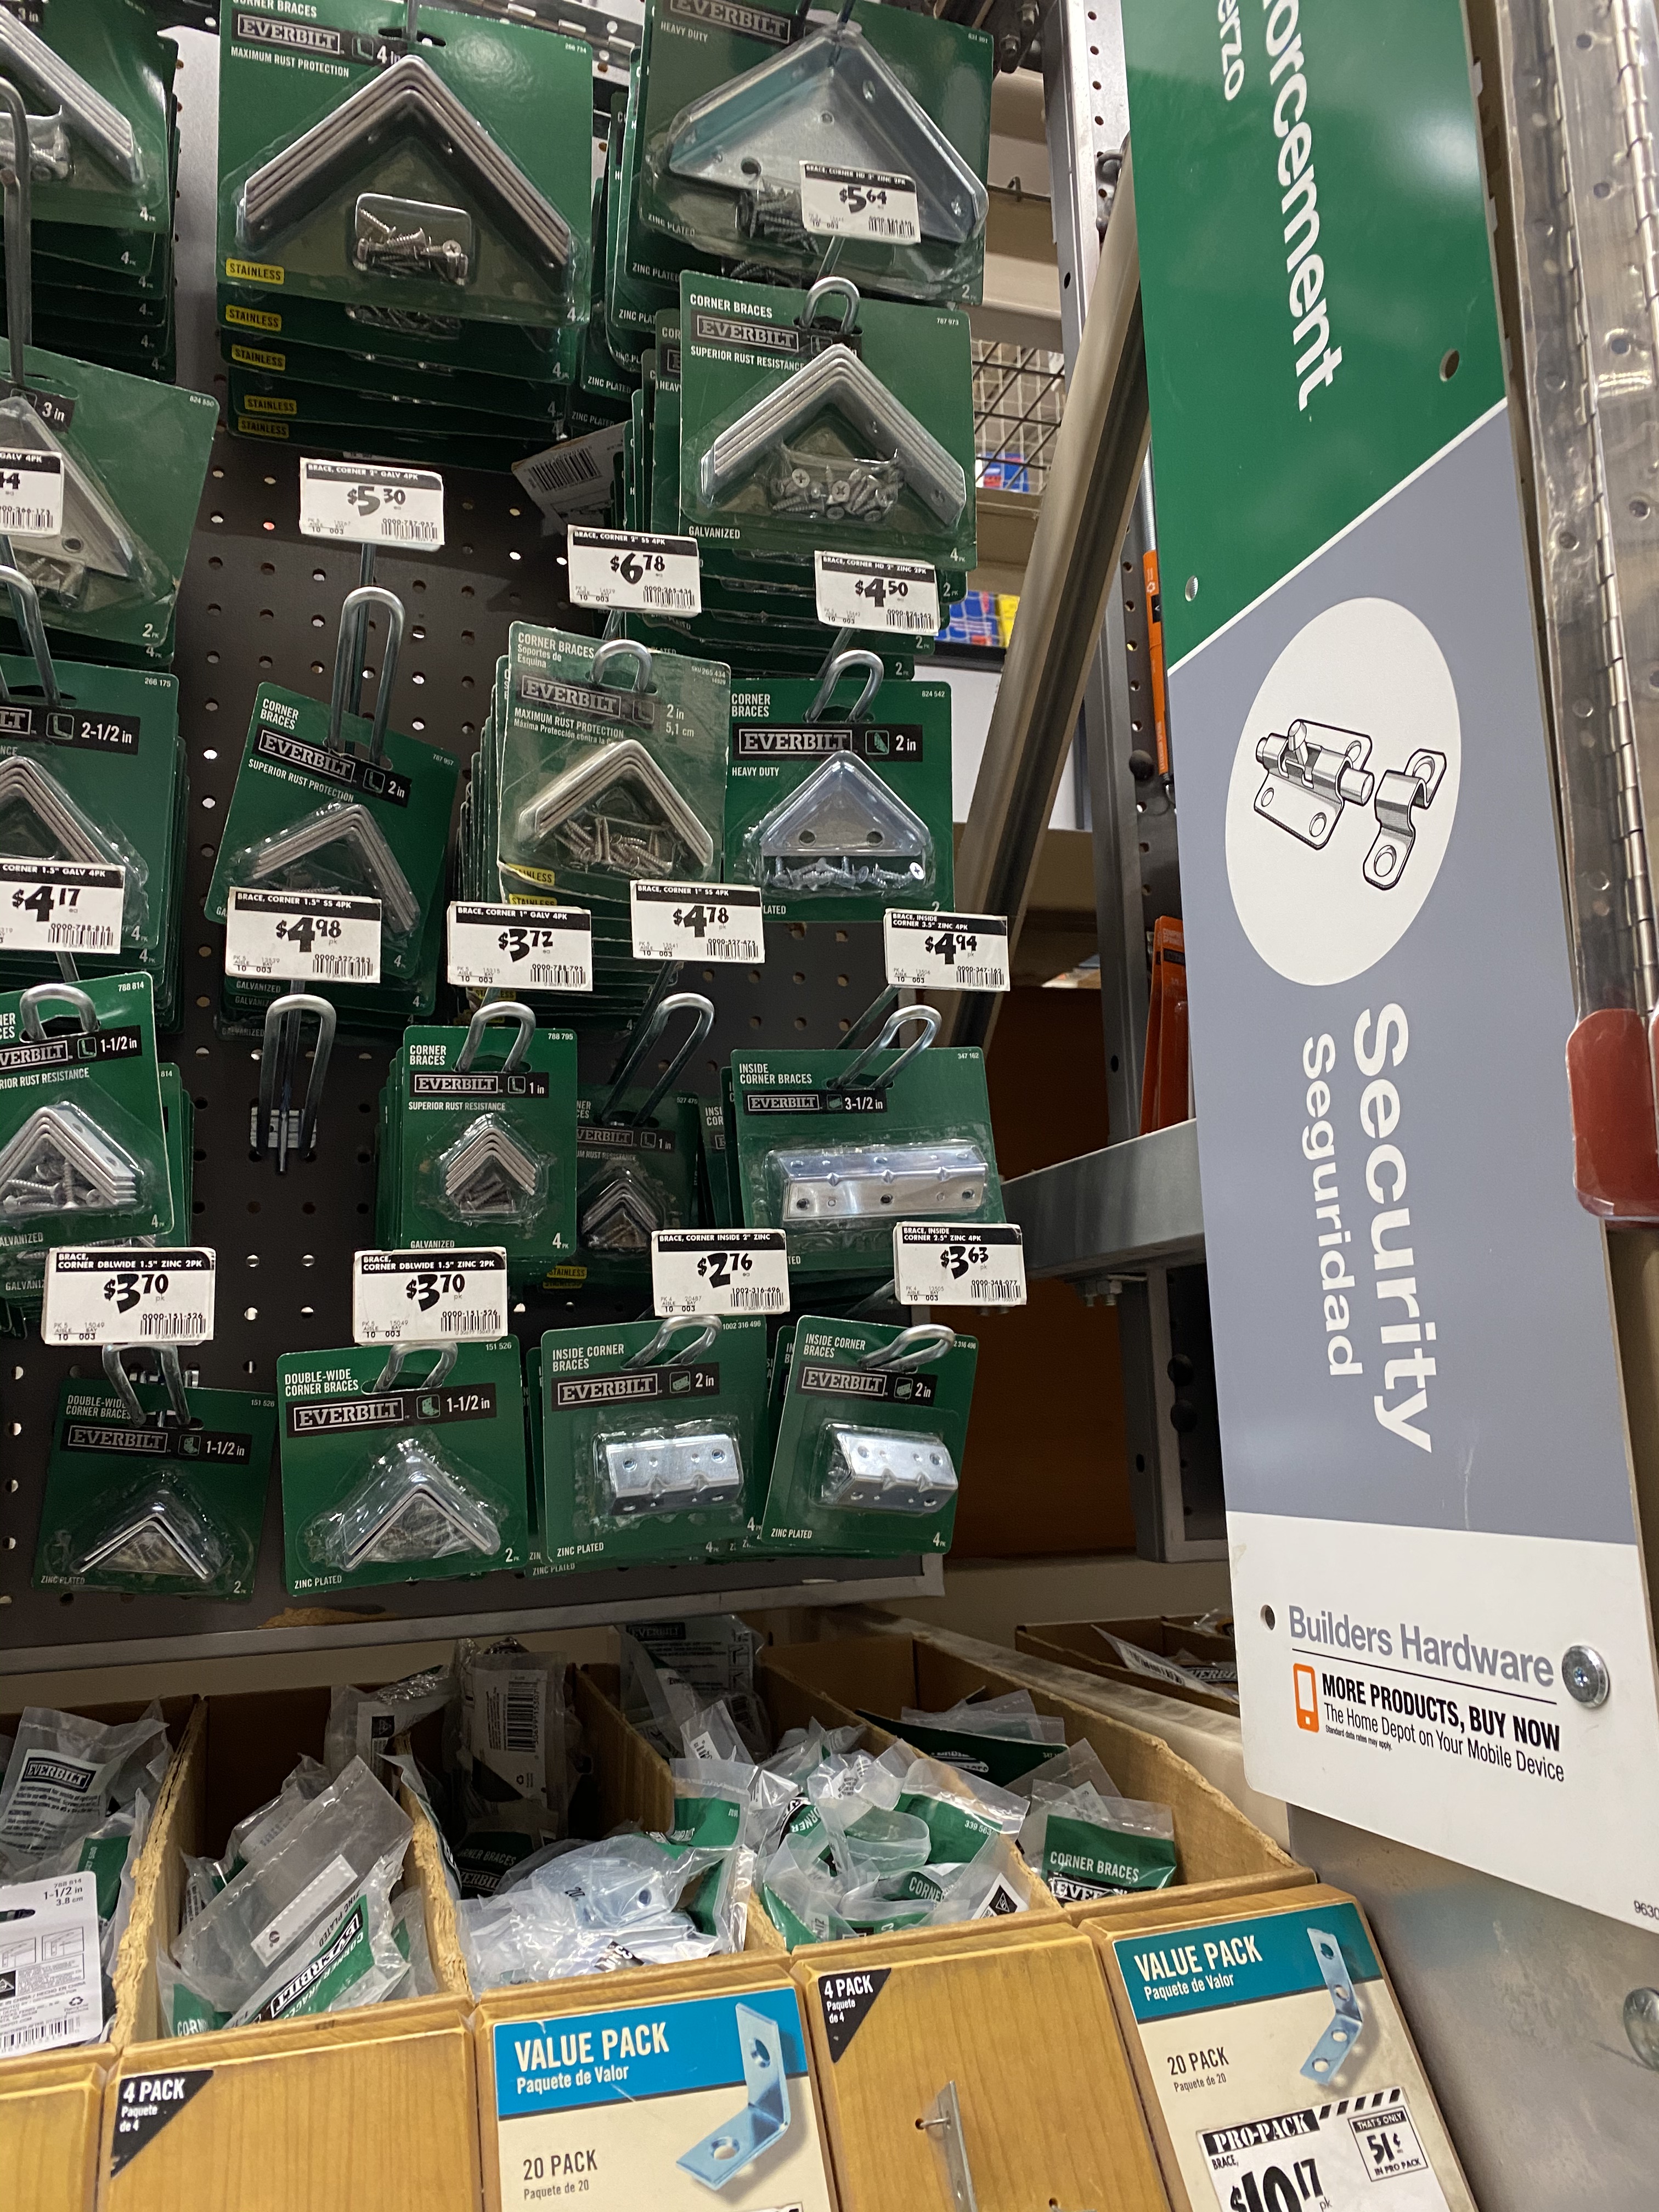
While assembling the bed panels, I realized we were going to need metal bed brackets. With a quick keyword search I found the exact product I needed in stock at my local store. Instead of trying to memorize the product’s in-store location (which we all know is easy to forget), I used the “text to me” feature.


This was the first time I noticed this feature and was exited at how easy it was to use.

Straight to aisle 10, Bay 3 and I had what I needed.
We were in an out of the store and back home in time to finish assembling.

Once the bed was assembled it was time to decide on a finish. Wood stain was not only going to give me a look I was going for but also be easier than priming and painting the entire thing. I tried several samples on a spare board and then proceeded to agonize over the decision.
After much thought, probably too much thought, and late in the evening, I decided on a stain color and placed quickly my online Home Depot order before I could change my mind.

First thing in the morning I received the text notification that my order was ready and waiting for me in a pick up locker.

I was in and out with my stain and back home before my kids even knew I had snuck out. I went with the Antique White stain by Varathane and I am very happy with that decision. To make sure I did a good job with my staining, I double checked the “How to Stain Wood” guide before I got started. I was right on track with my prep and process so I got started.

This color subtly toned down the yellow/orange in the natural pine boards which lets the design of the bed be front and center. The painted mural wall also gets to remain a focus in the room. We got the sleeping and reading spaces put together and I was surprised with how much space was actually freed up even though there is now this massive structure in the room. The closet organization we did last month leaves a ton of space for activities now!

I hope this room invites the kids to rest and play to their hearts content. It is important that the spaces in our home be functional, beautiful, and bring us joy. And oh is my boy happy with his new room. We could not have done it without the resources from The Home Depot I have grown to rely so much on.