
DIY Stone Fire Pit
This project is sponsored by Bush’s Beans
While Bush’s Beans runs their Bush’s Beautiful Summer Contest, where one lucky fan will win a bean-inspired backyard makeover of their dreams designed by HGTV’s “Good Bones” star Mina Starsiak Hawk, they have asked me to create my own take on a Beautiful Bean Pit. I’m sharing a step-by-step guide for my super simple Bean Pit that you can easily DIY in a weekend – complete with a custom fire pit cover.
Contest details: follow @BushsBeans on Instagram or Twitter, share a picture of the backyard you want to makeover, why you want a makeover and post it using the #BushsBeautifulSummerContest and tag @BushsBeans.
Enter for a chance to win a Bean Pit of your own OR you can DIY here with me.

SUPPLIES:
BEAN PIT
- Stone pavers – 85 count
- Crushed gravel
- Tamper
- Construction adhesive
- Spray paint
- Measuring tape
- Large level
WOOD COVER
- Redwood lumber
- Wood glue
- Pocket hole system
- Exterior pocket screws
- Exterior stain and sealer – color of choice
- Jigsaw
- Orbital sander
- 180 and 220 grit sanding disc
- Exterior fencing handles
- Collapsible metal table legs
STEP 1:
Choose your location, making sure to abide by any local safety and fire laws.
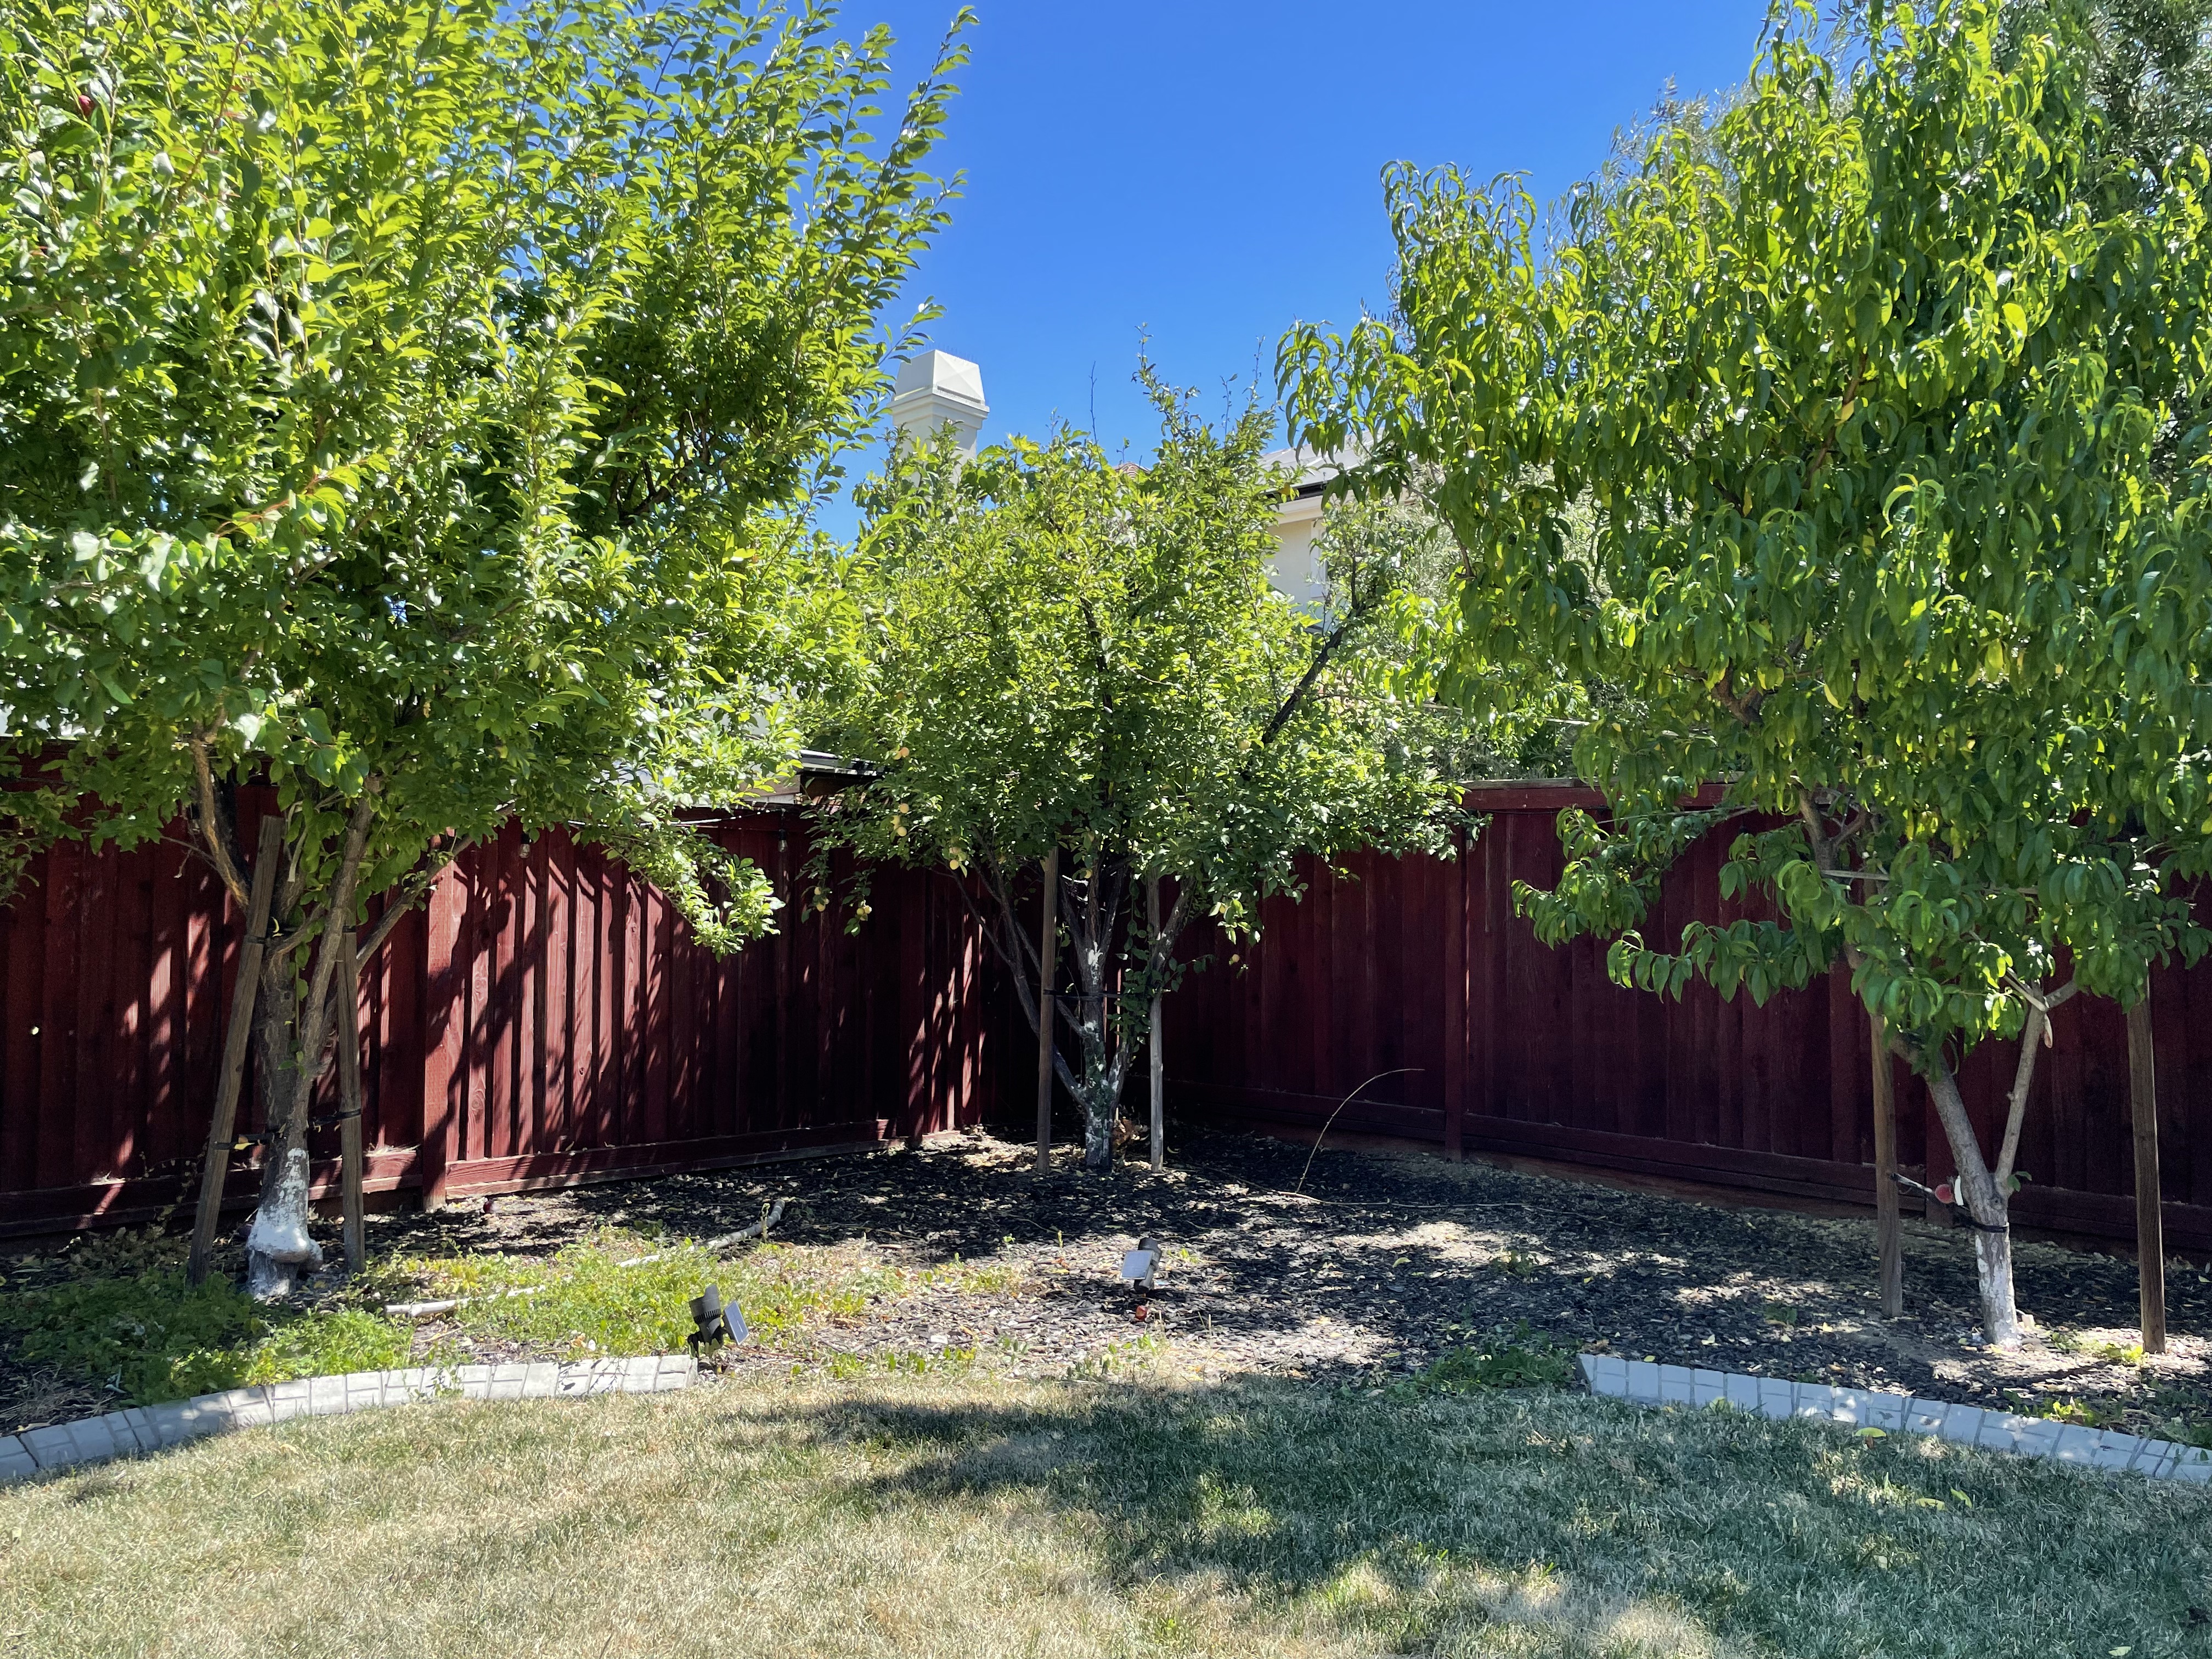
I’m going to be building my bean pit in this open area along the end of the backyard.
STEP 2:
Use any spray paint to mark the location, layout, shape, and size of your fire pit. I am adding an elongated curve to my design to make it a Beautiful Bean Pit.

STEP 3:
Rake away any debris and clear the area so that the bare soil is visible.

STEP 4:
With a handheld tamper, pack the soil evenly so that there is a level and compact surface to build on.

STEP 5:
Lay 3–4-inch layer of gravel in the area where the fire pit will be. Extend the gravel several inches around the outer perimeter. The goal is to create a layer of gravel between the bare soil and your firepit.

STEP 6:
Lay your first layer of stones in the desired shape. Cement stones shapes can vary, so it’s a bit of a Tetris game fitting pieces together to get your desired shape. Using smaller stones allows for a more custom shape to be possible.

STEP 7:
I adjusted the shape of the first layer to resemble that of a bean, with a slight curve inward on one side using 17 stones.

STEP 8:
Check that the first layer of stones is leveled. Adjust with more gravel underneath the area if needed.

STEP 9:
Layer row after row of stones atop one another, in an offset brick pattern, following the design and curve of the base layer.

STEP 10:
Use a construction adhesive that will bond to cement in order to secure the stones atop one another.

STEP 11:
Once you reach the desired height of your fire pit, step back and admire your handy work. I went up 5 layers of stones. I went up 5 layers of stones, 17 stones each layer for a total of 85 stones.

Our bean pit is now complete, but I am going to add a finishing touch with a custom fire pit cover that will not only close off the pit when not in use, but it will allow the pit to double as a table.

BEAN PIT and TABLE
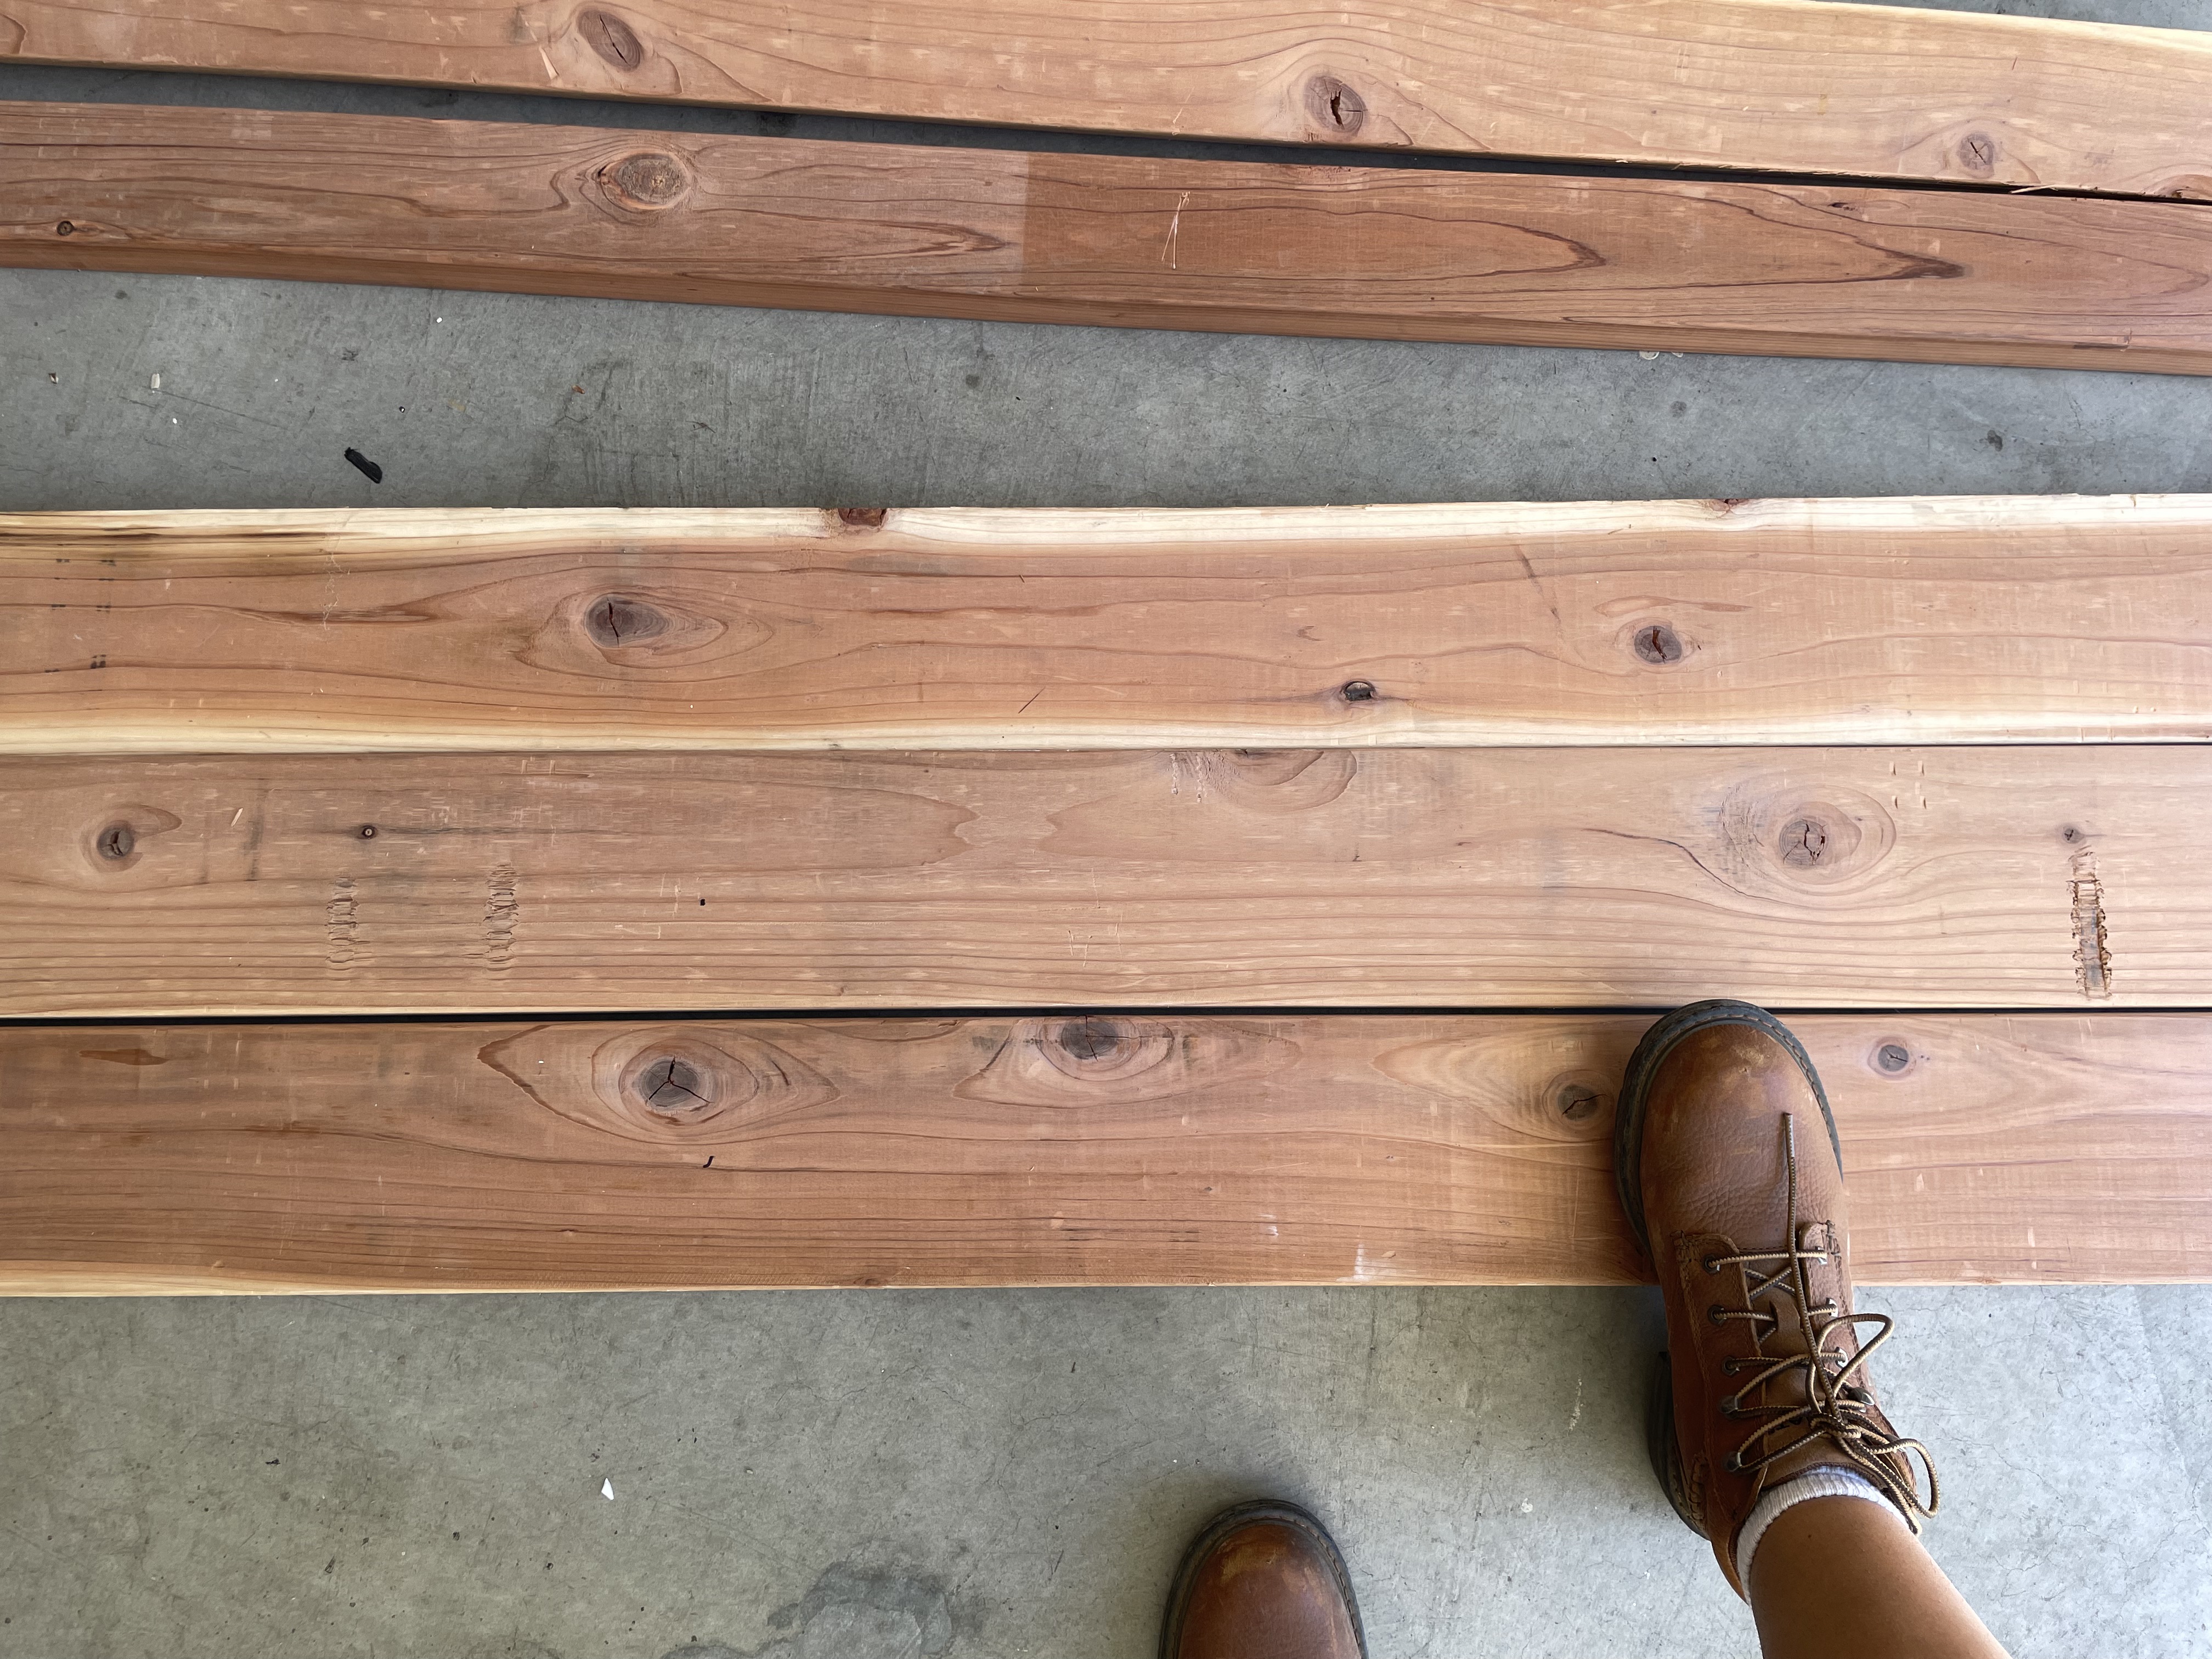
STEP 1:
Source exterior wood of choice for the project. I’m using 2×6 redwood boards.
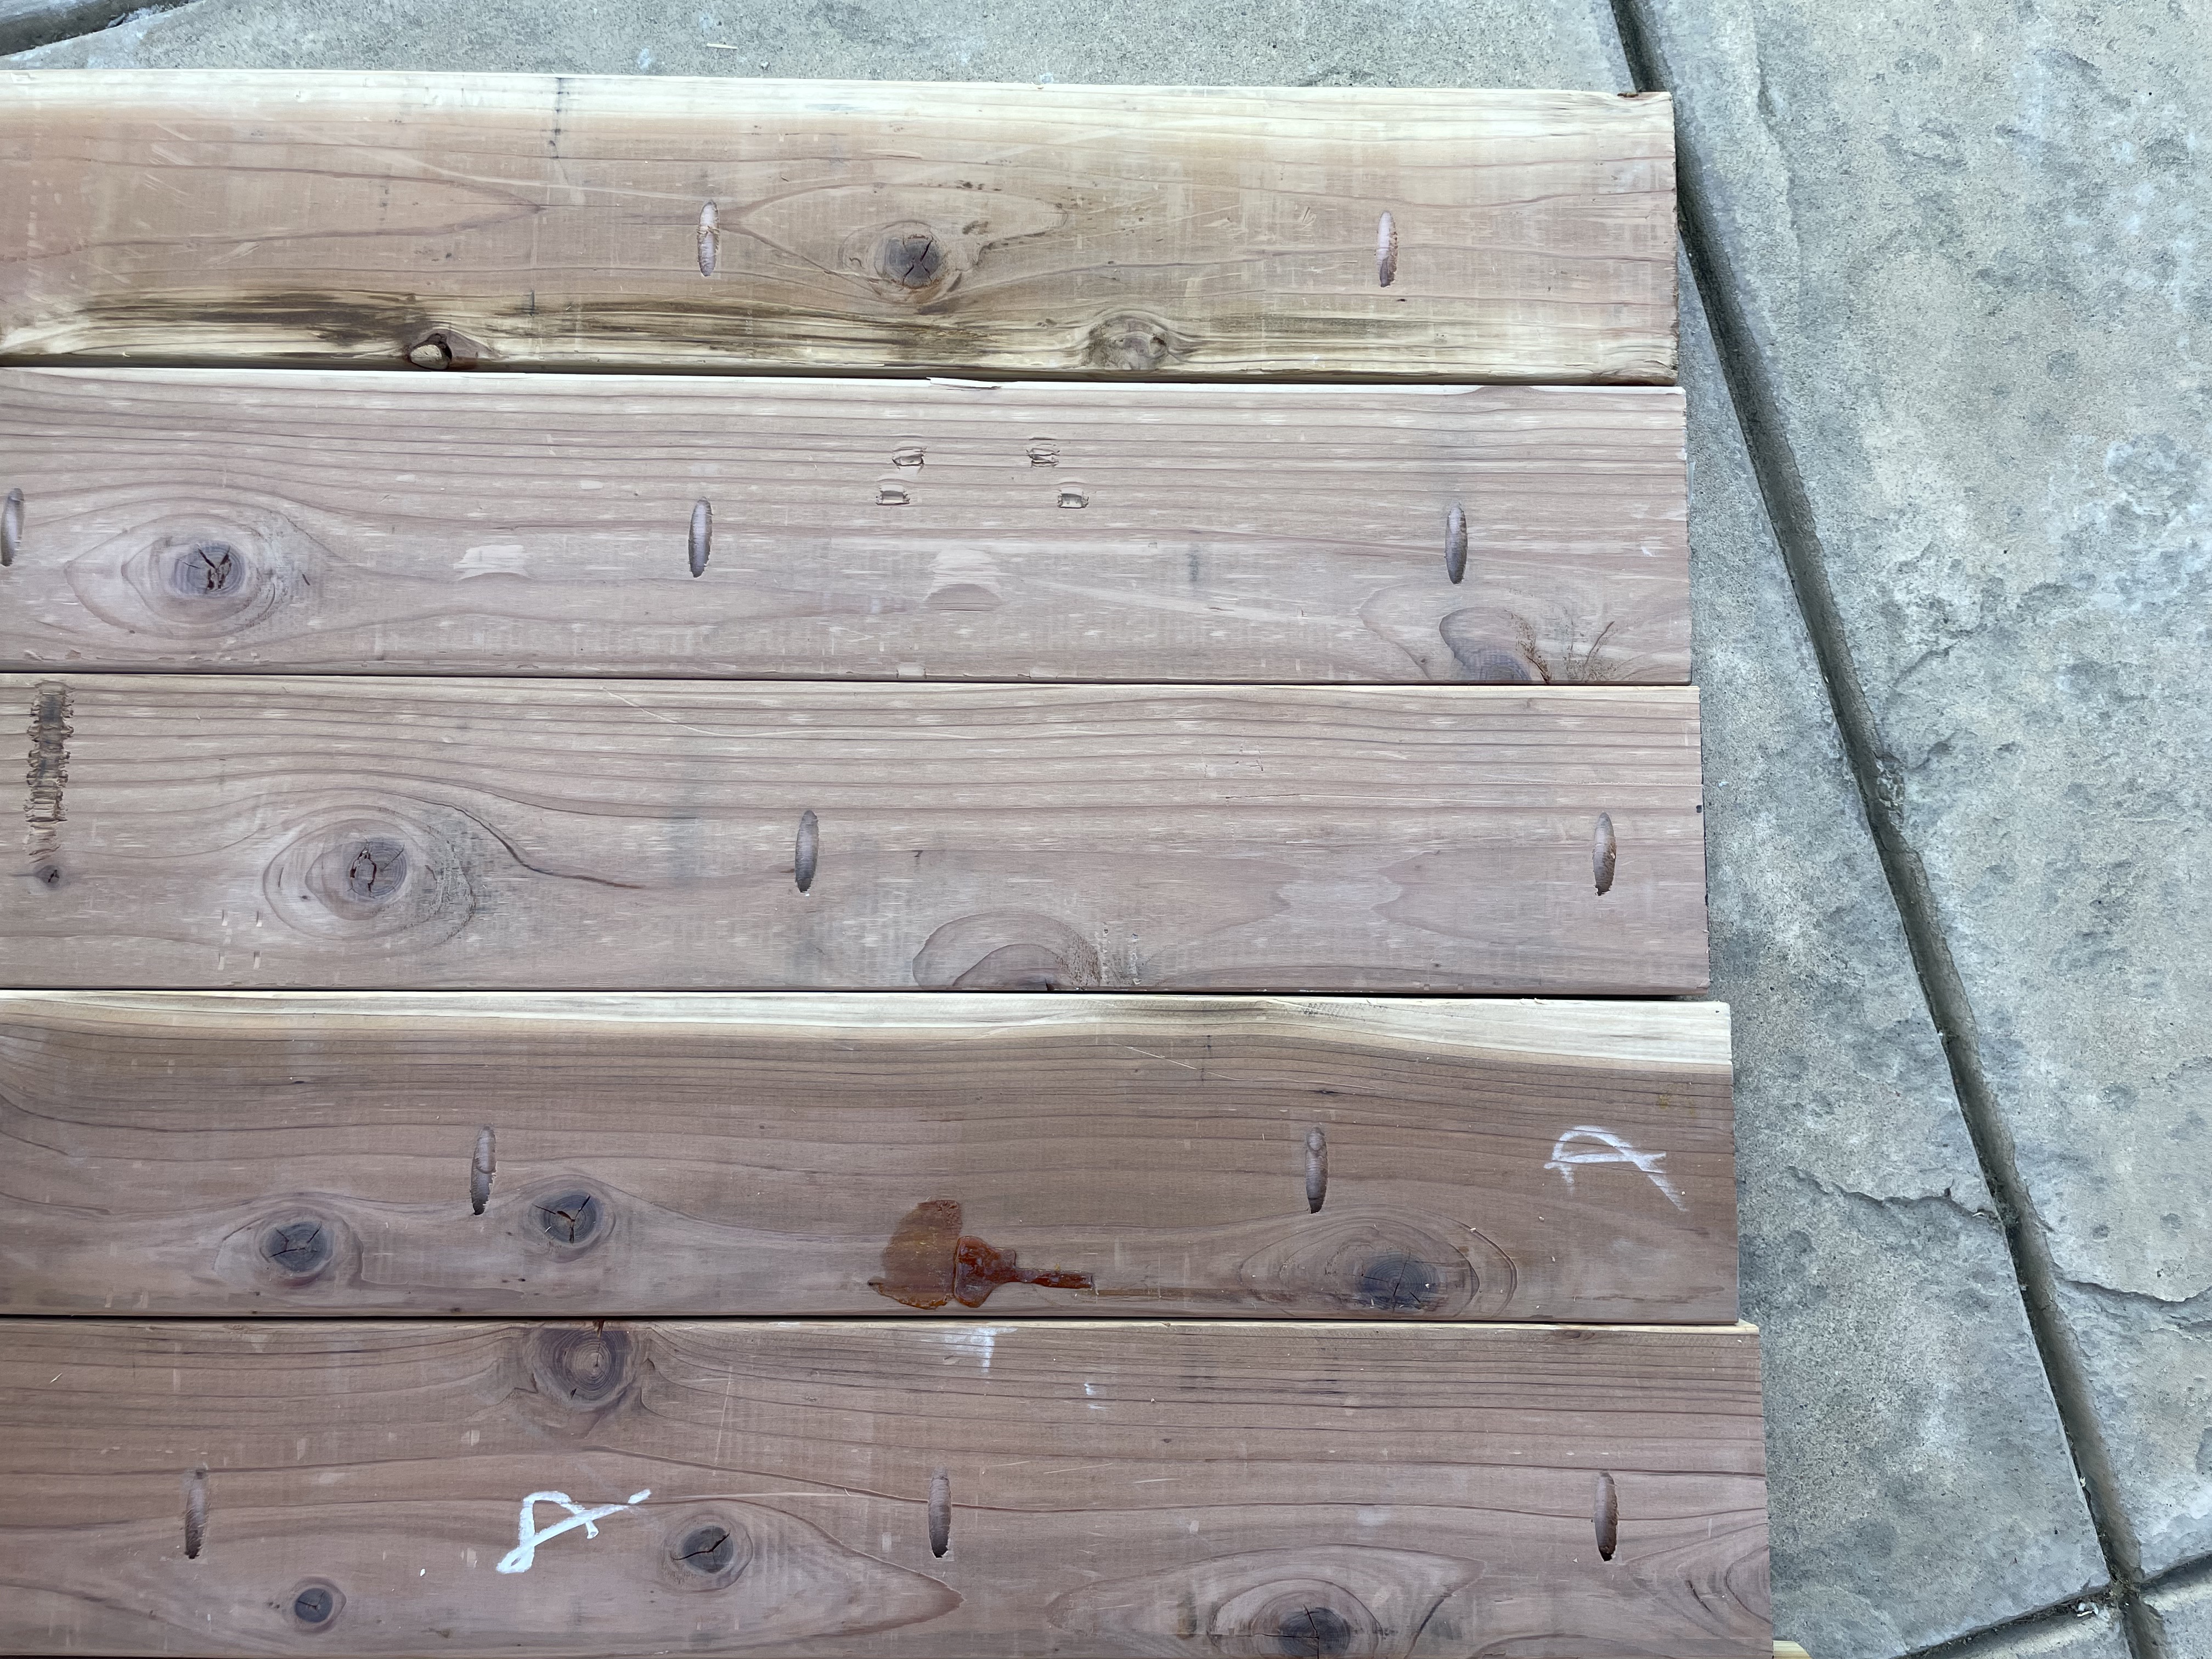
STEP 2:
Install pocket holes in the boards in order to join them all together creating a wide tabletop that measures the length and width of the fire pit.
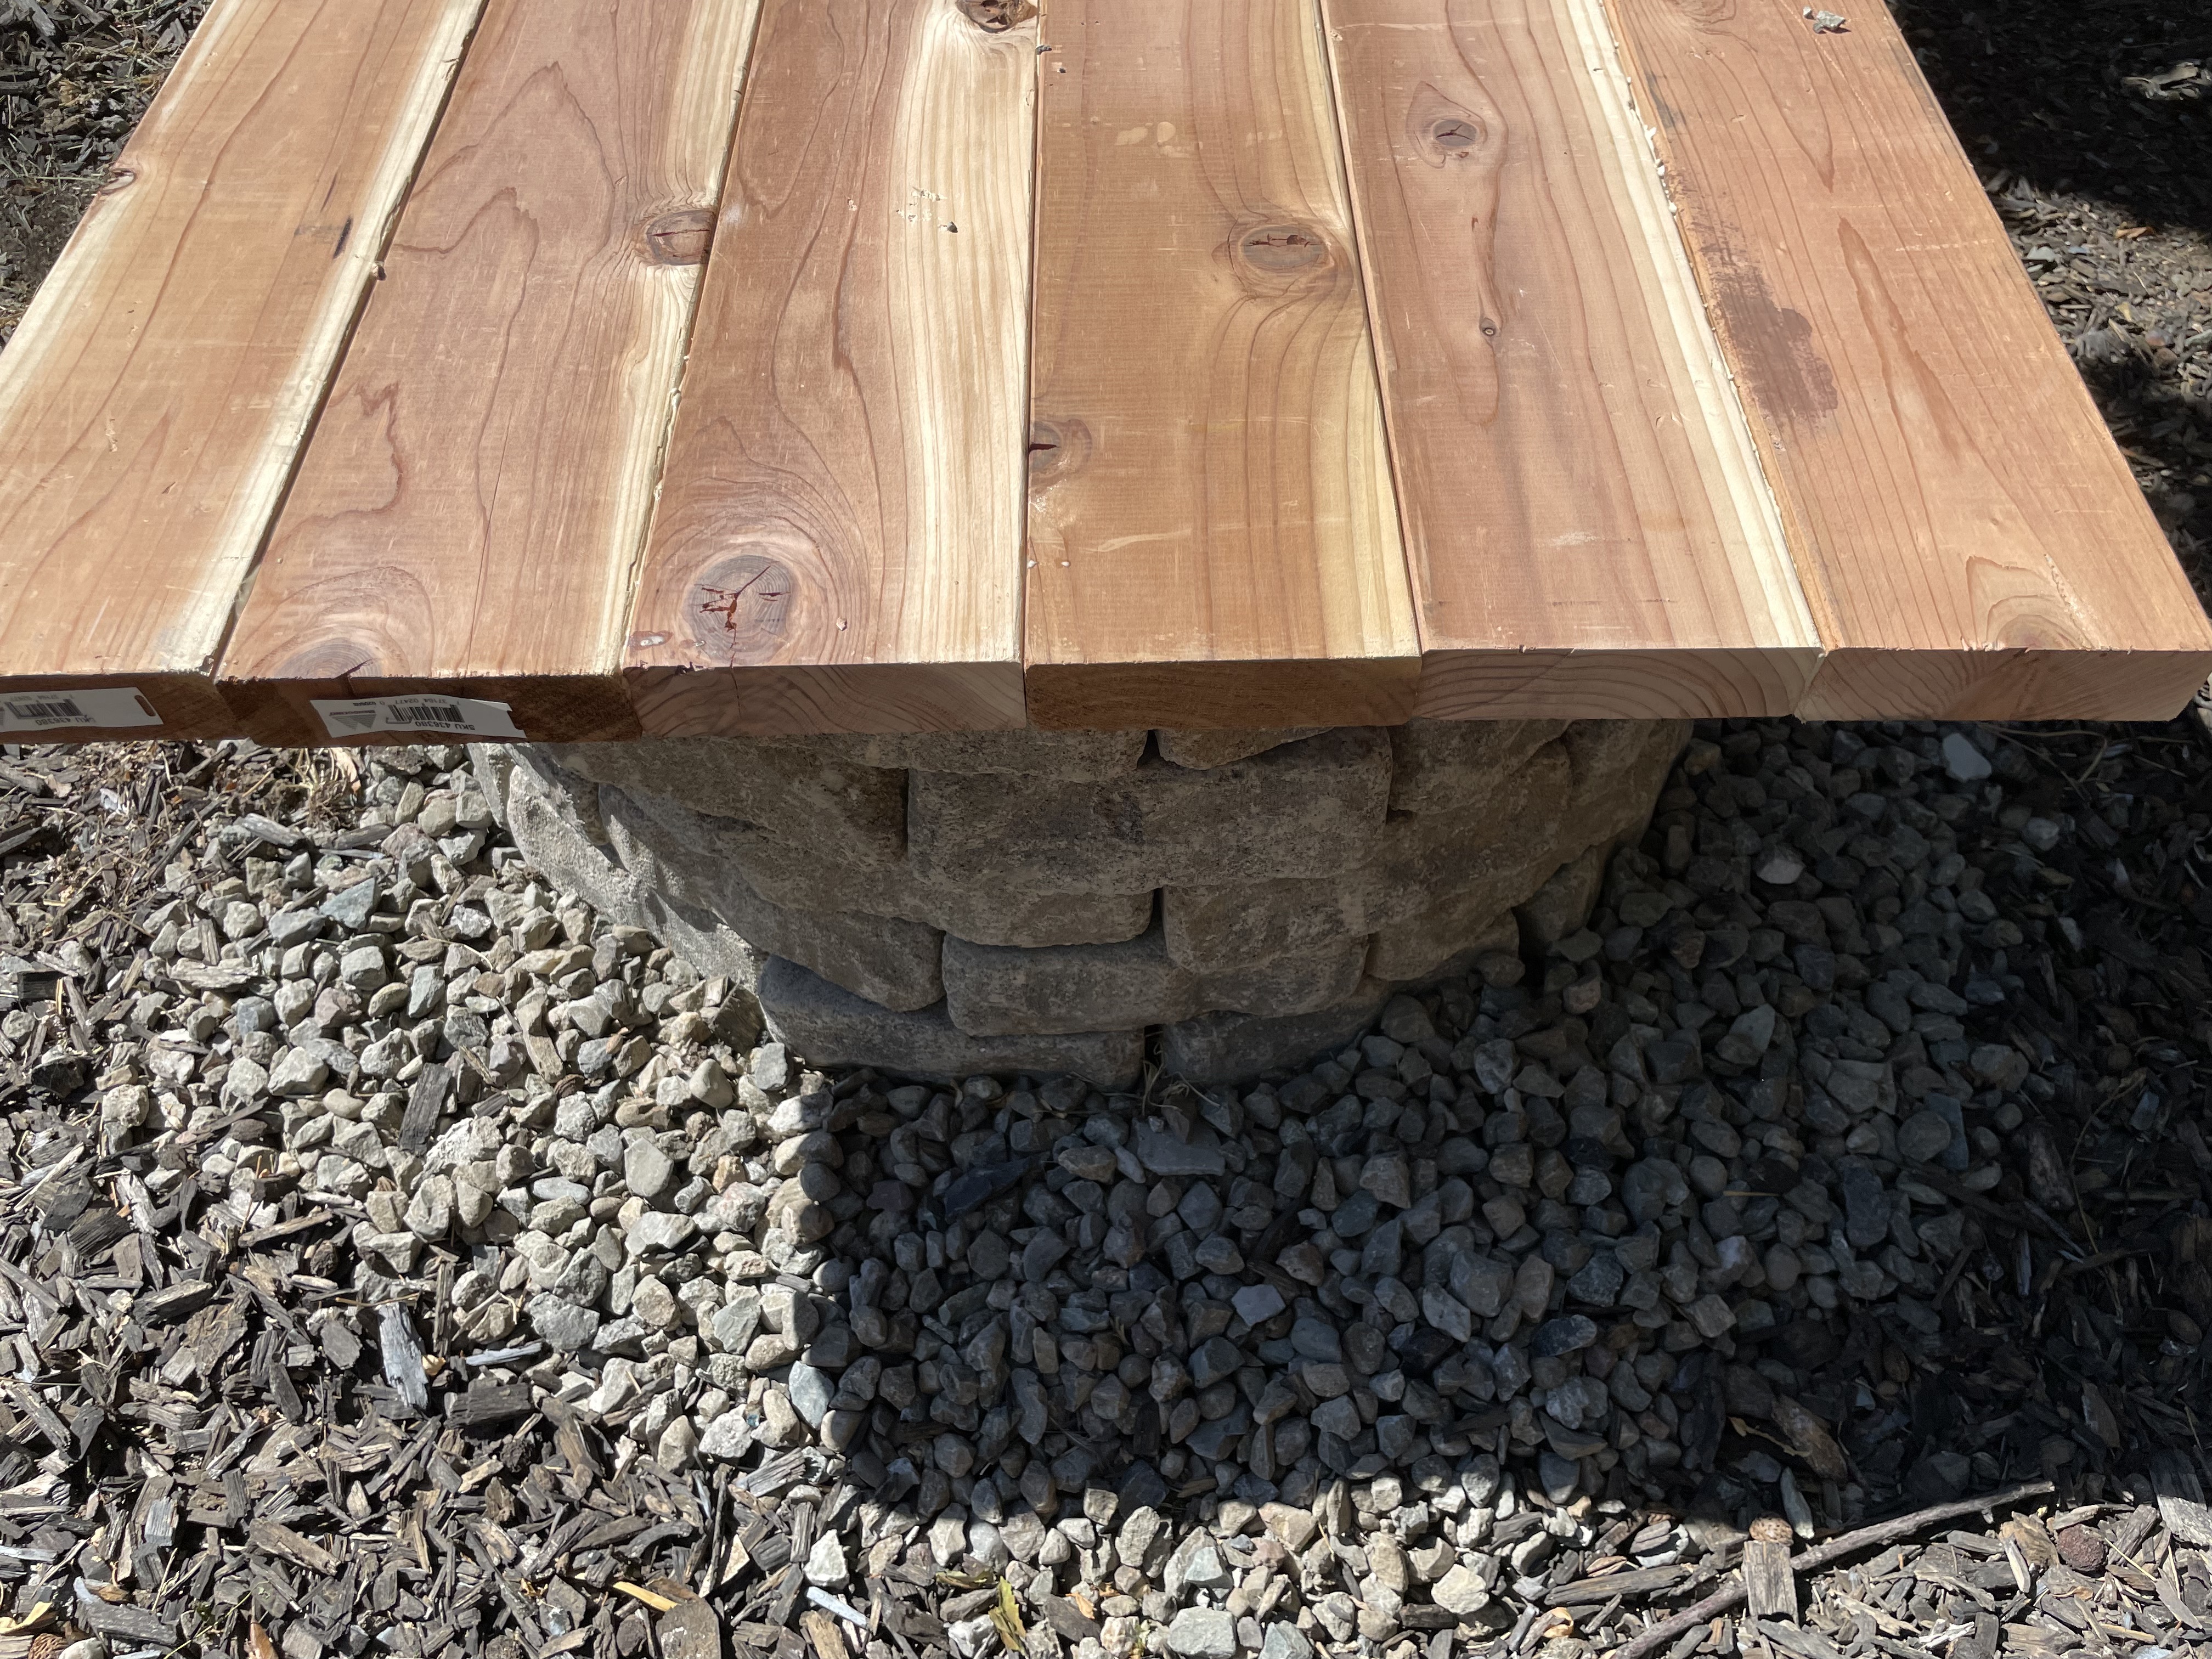
STEP 3:
Place wood assembly over top of the fire pit right side up (pocket holes on underside)
STEP 4:
Trace the exact shape of the pit to the underside of the wood using a marker. This method transfers the shape accurately to the wood.
STEP 5:
Using a jigsaw, cut along the marked shape.

STEP 6:
Sand sharp edges of the fire pit cover and smooth out surface using an orbital sander and 220 grit sandpaper.
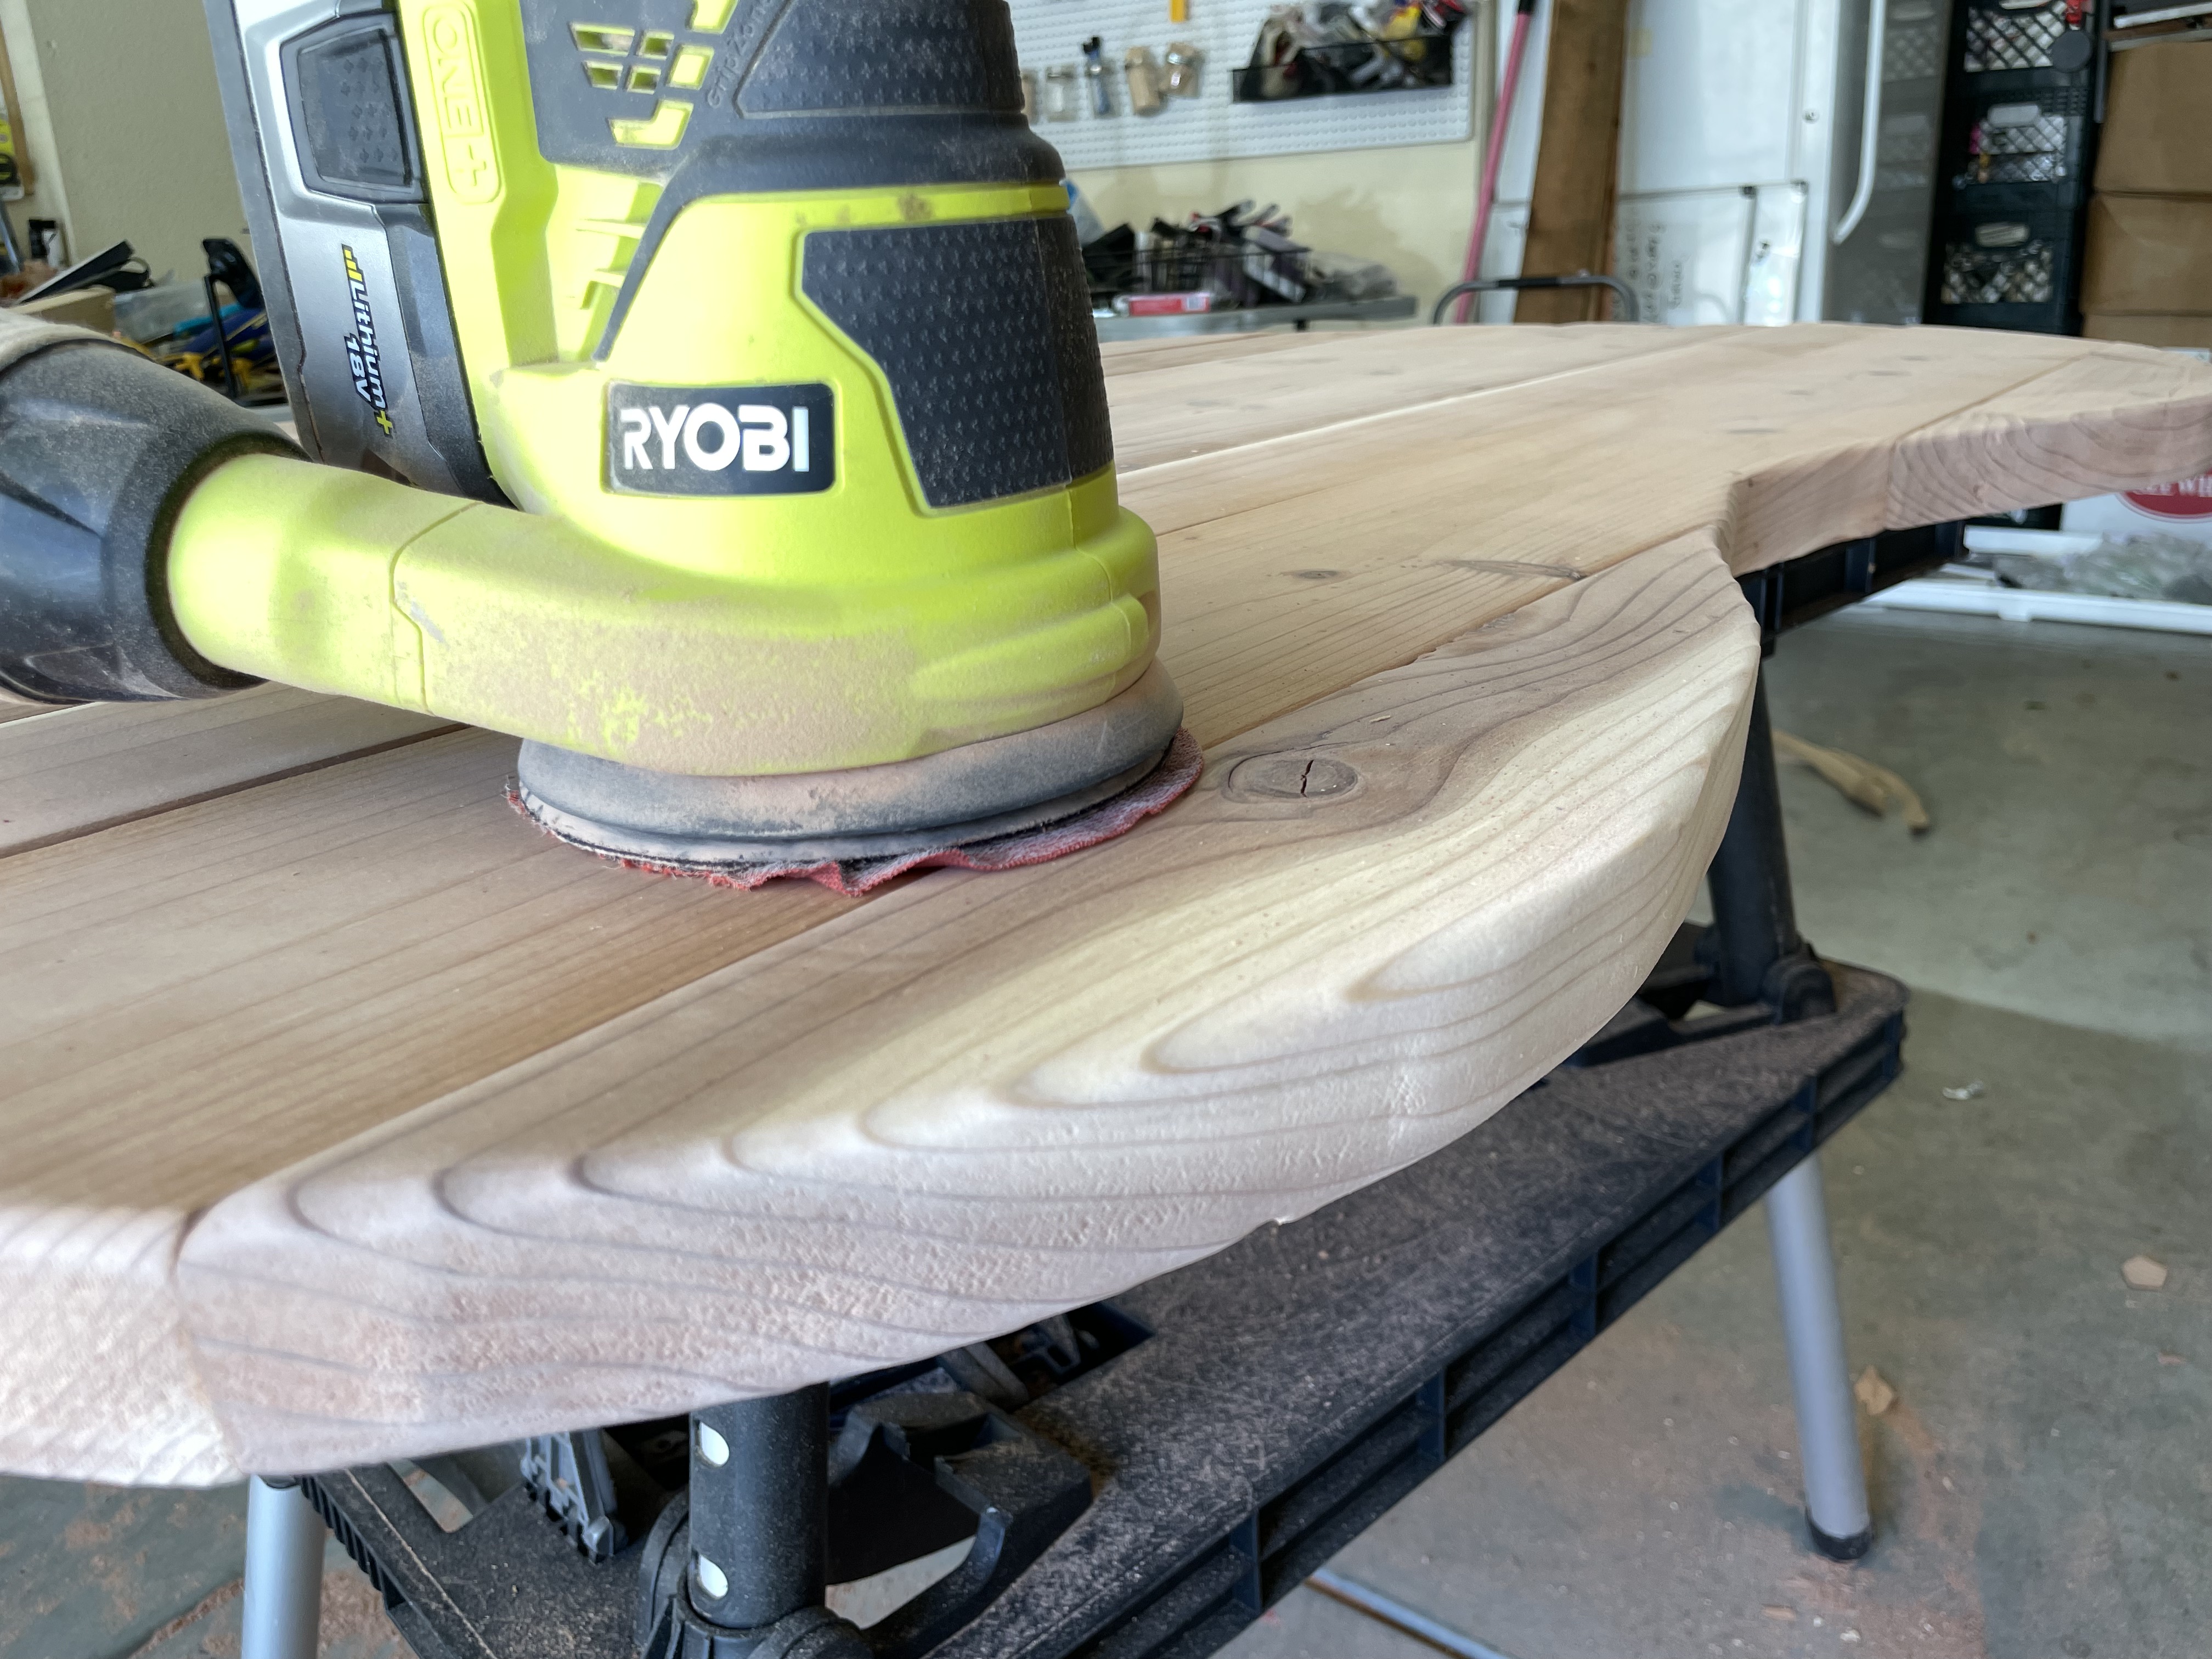
STEP 7:
Once the edges of the pit cover match the curves of the bean pit underneath, you can choose to stain with an exterior stain/sealer increase its durability.
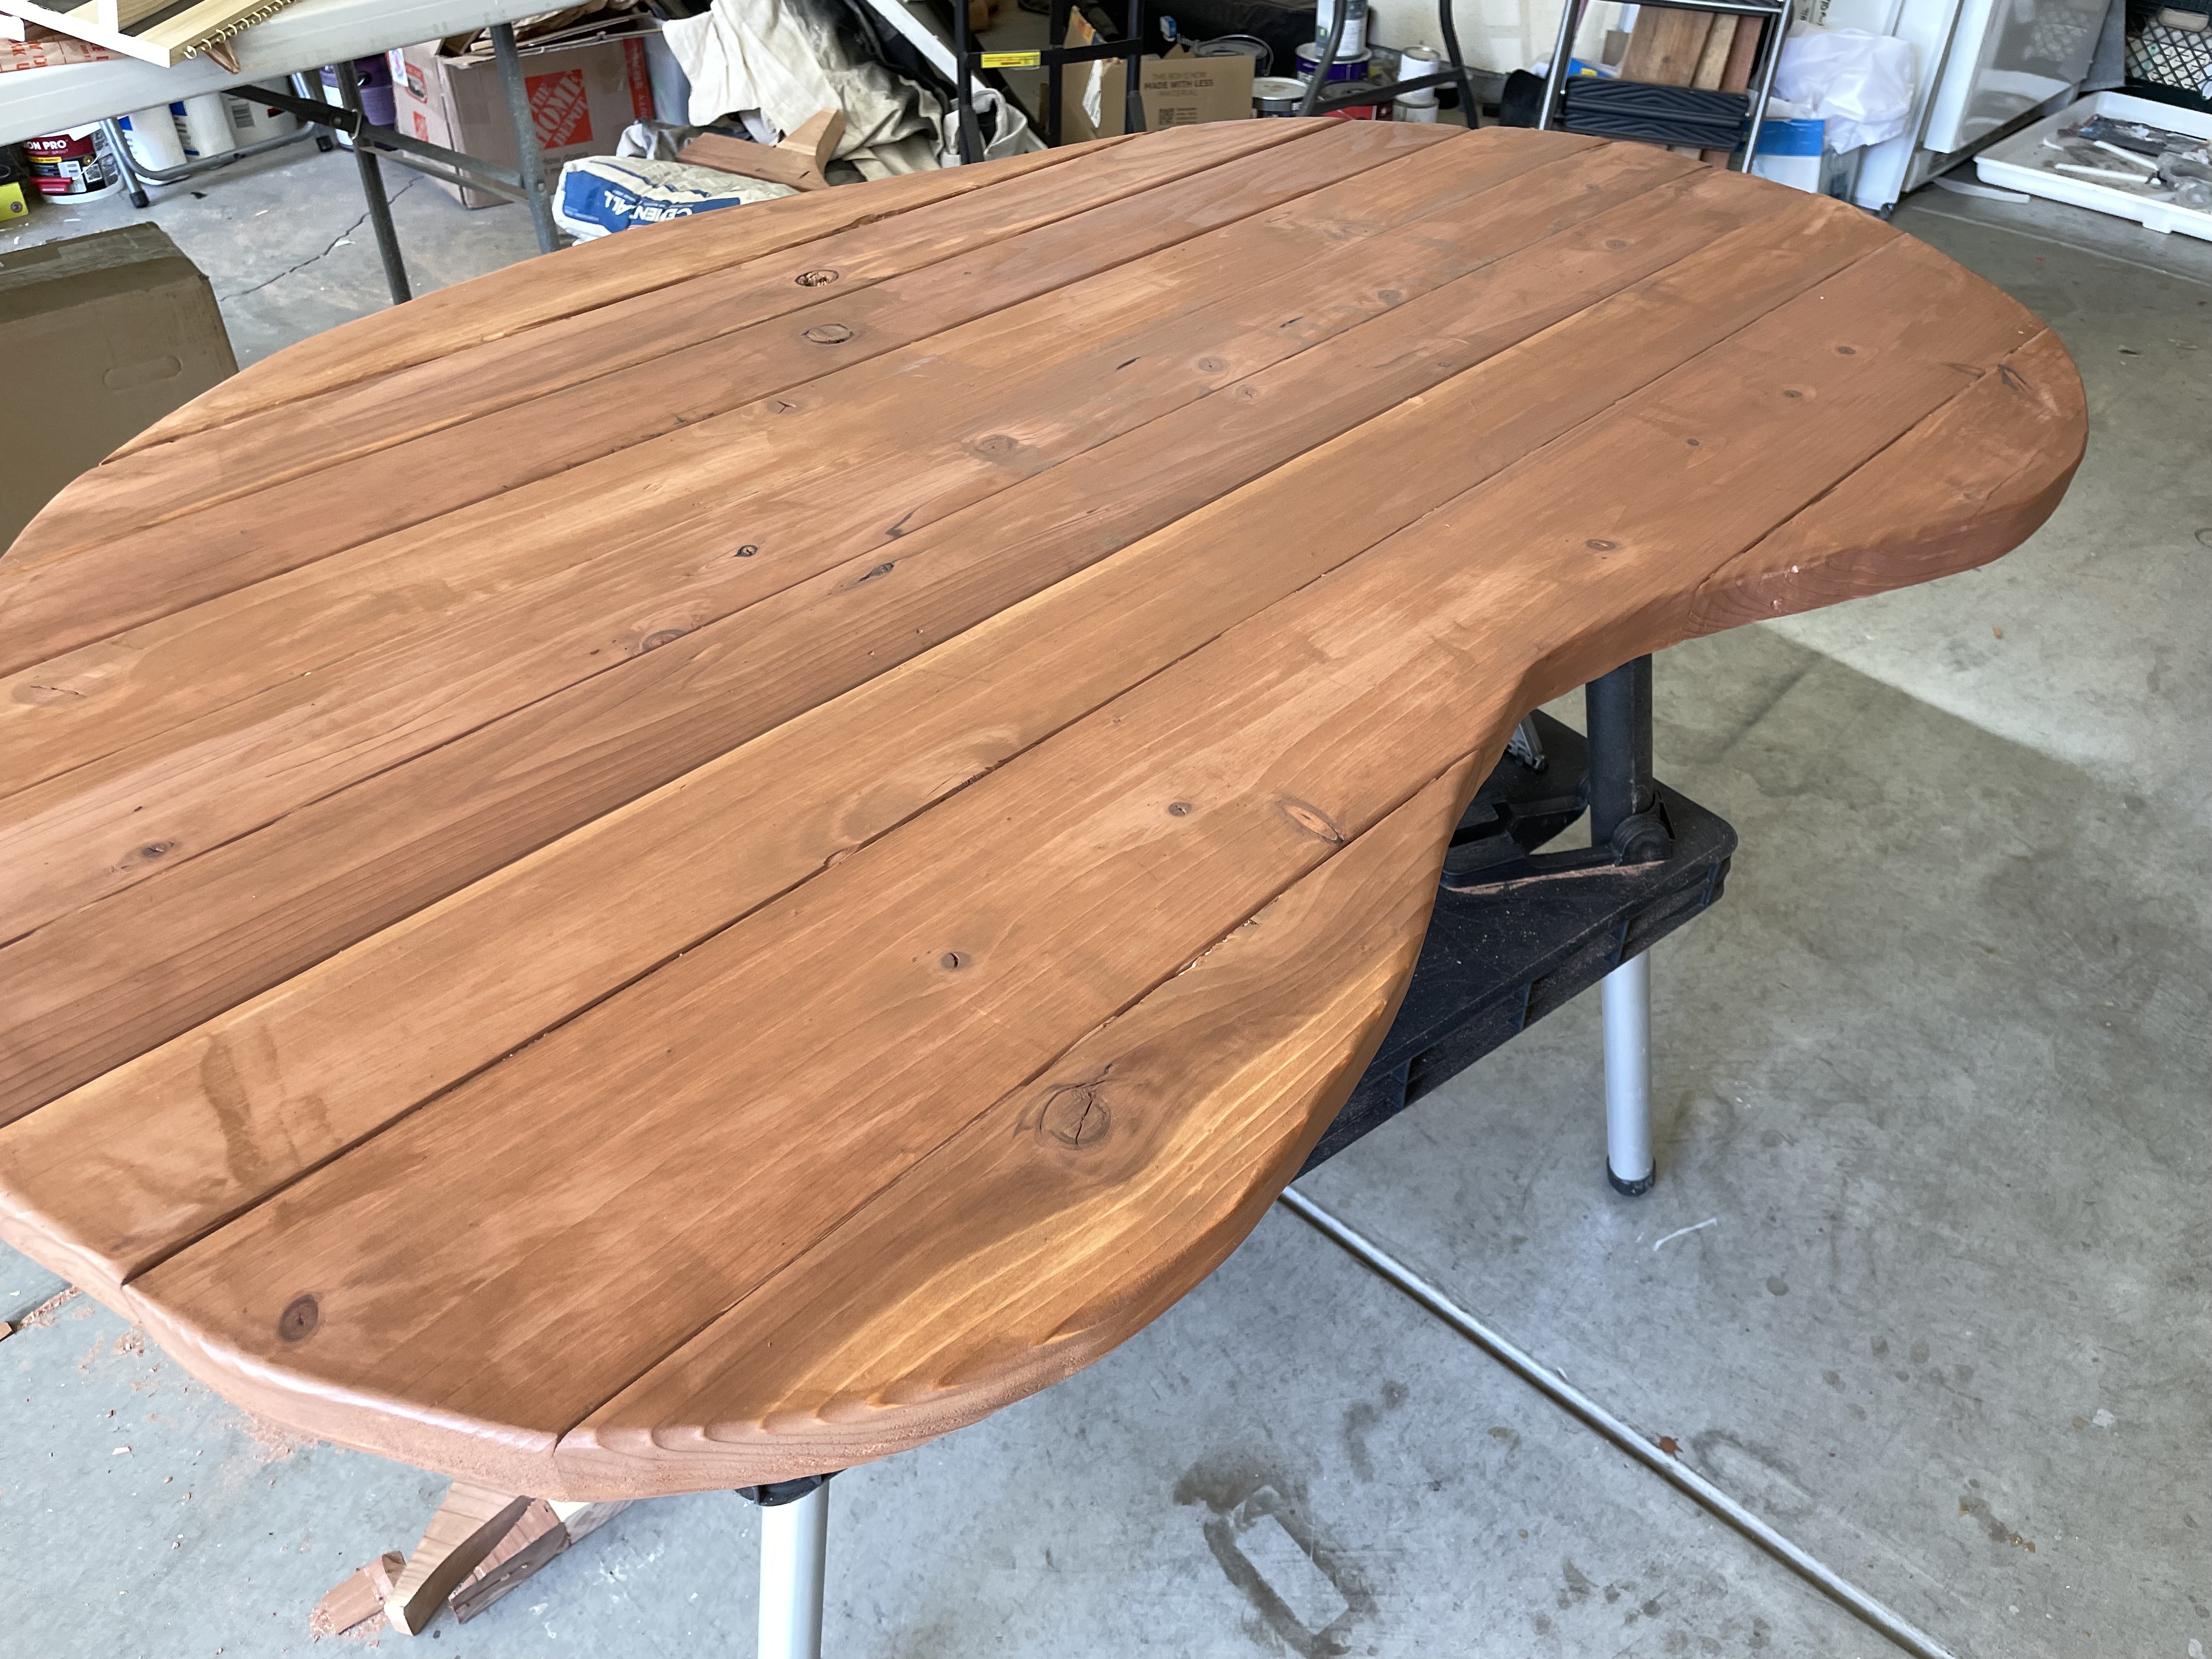
STEP 8:
I’m using an exterior stain in the color Sable.

STEP 9:
Attach exterior fence handles to the top of the bean pit cover to make it easy to remove and replace the wooden cover.

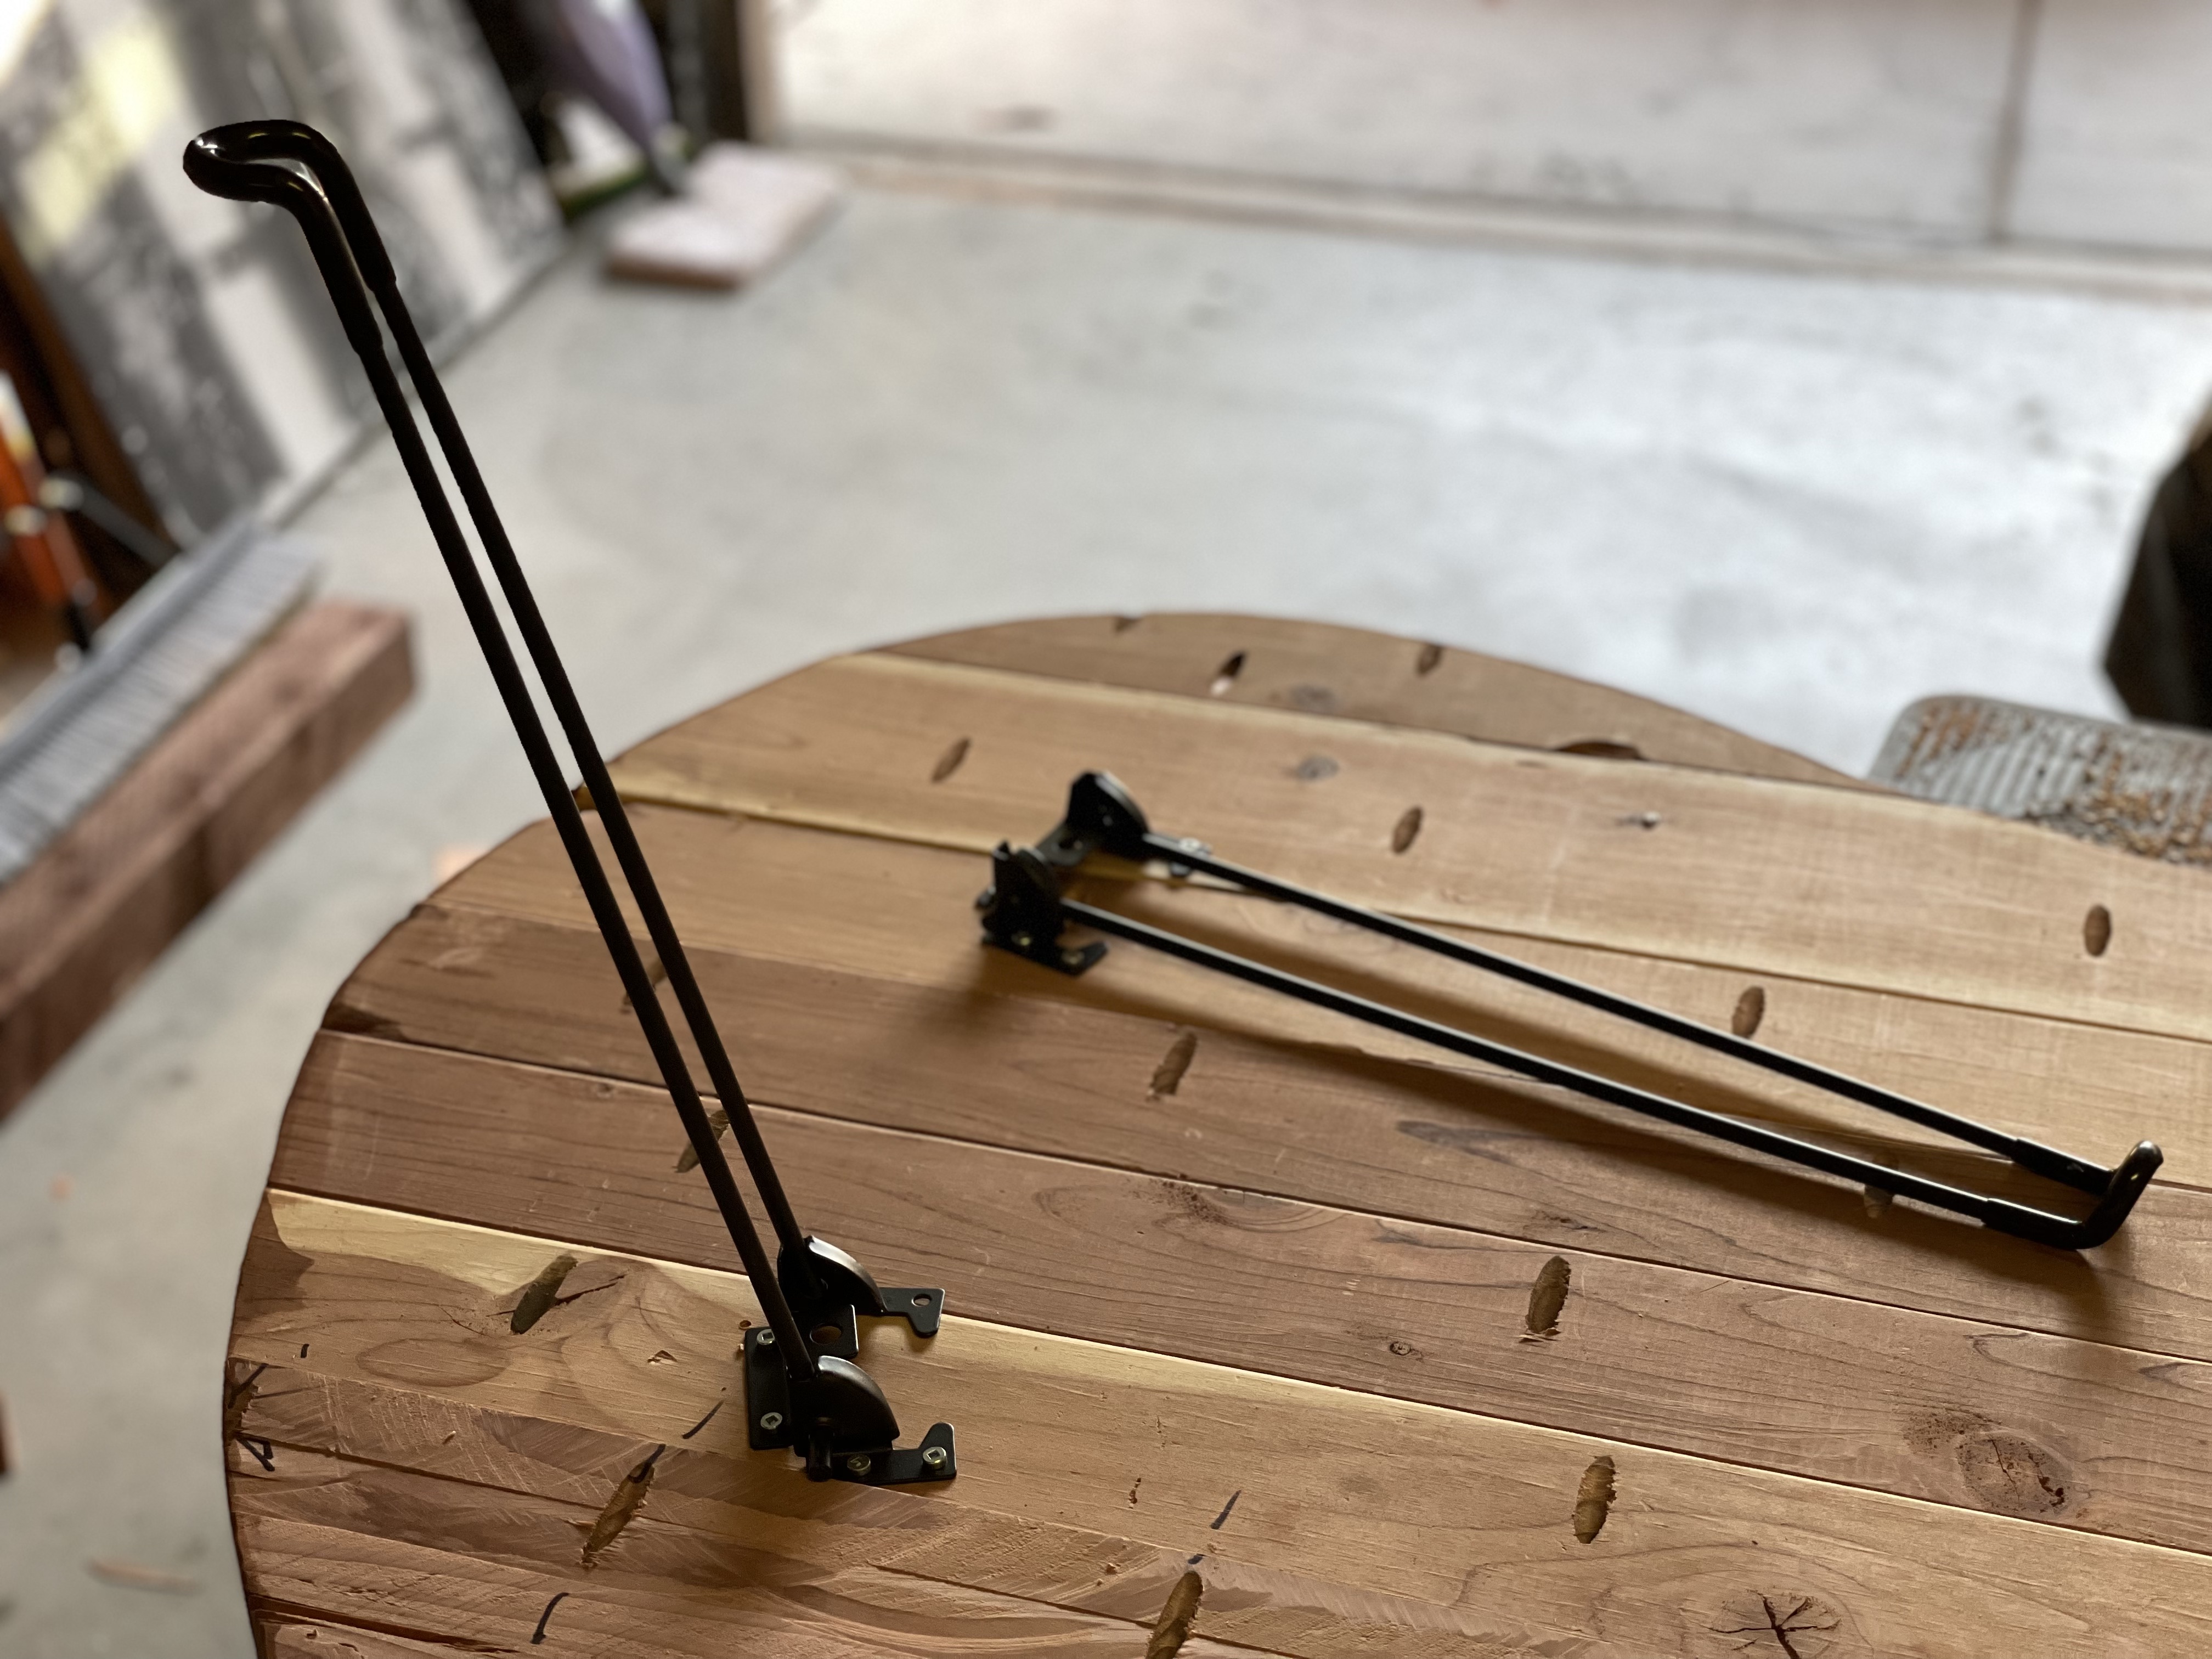
STEP 10:
Attach the collapsible/removable hair pin legs to the underside of the table, making sure to leave a minimum 3-inch border along the edge, this is where the table will make contact with the firepit stones.
STEP 11:
The Beautiful Bean Pit cover is now ready for install!
This cover will keep the firepit free of debris when not in use and serves as a table both while on the firepit and off.

The multipurpose use makes this accessory a must have part of this project.

To add some contrast to the space, I added a layer of black mulch atop the surrounding soil. This will also keep the weeds down in the area.
We can’t wait to host fun summer BBQ gatherings with our newly built Beautiful Bean Pit! And to top off the perfect outdoor meal, we’ll be using Bush’s Baked Beans as an easy and ready-to-go side! They pair perfectly with hamburgers and hot dogs!

Don’t forget to enter the Bush’s Beautiful Summer Contest and good luck!
Brava as always! The collapsible hair pin legs are genius! I love the duality of the cover/table and that it keeps debris out of the pit, which can be a headache to clear out sometimes.
Bean pot, I love it!
I said bean PIT. 😒
This firepit cover is one of my favorite things you have designed and you make so many awesome things.