One of this week’s house projects was monumental. When we first moved into our home I created a memo board section on a wall near the garage entry. This awkward section of our family room was great for keys, bags, and mail.

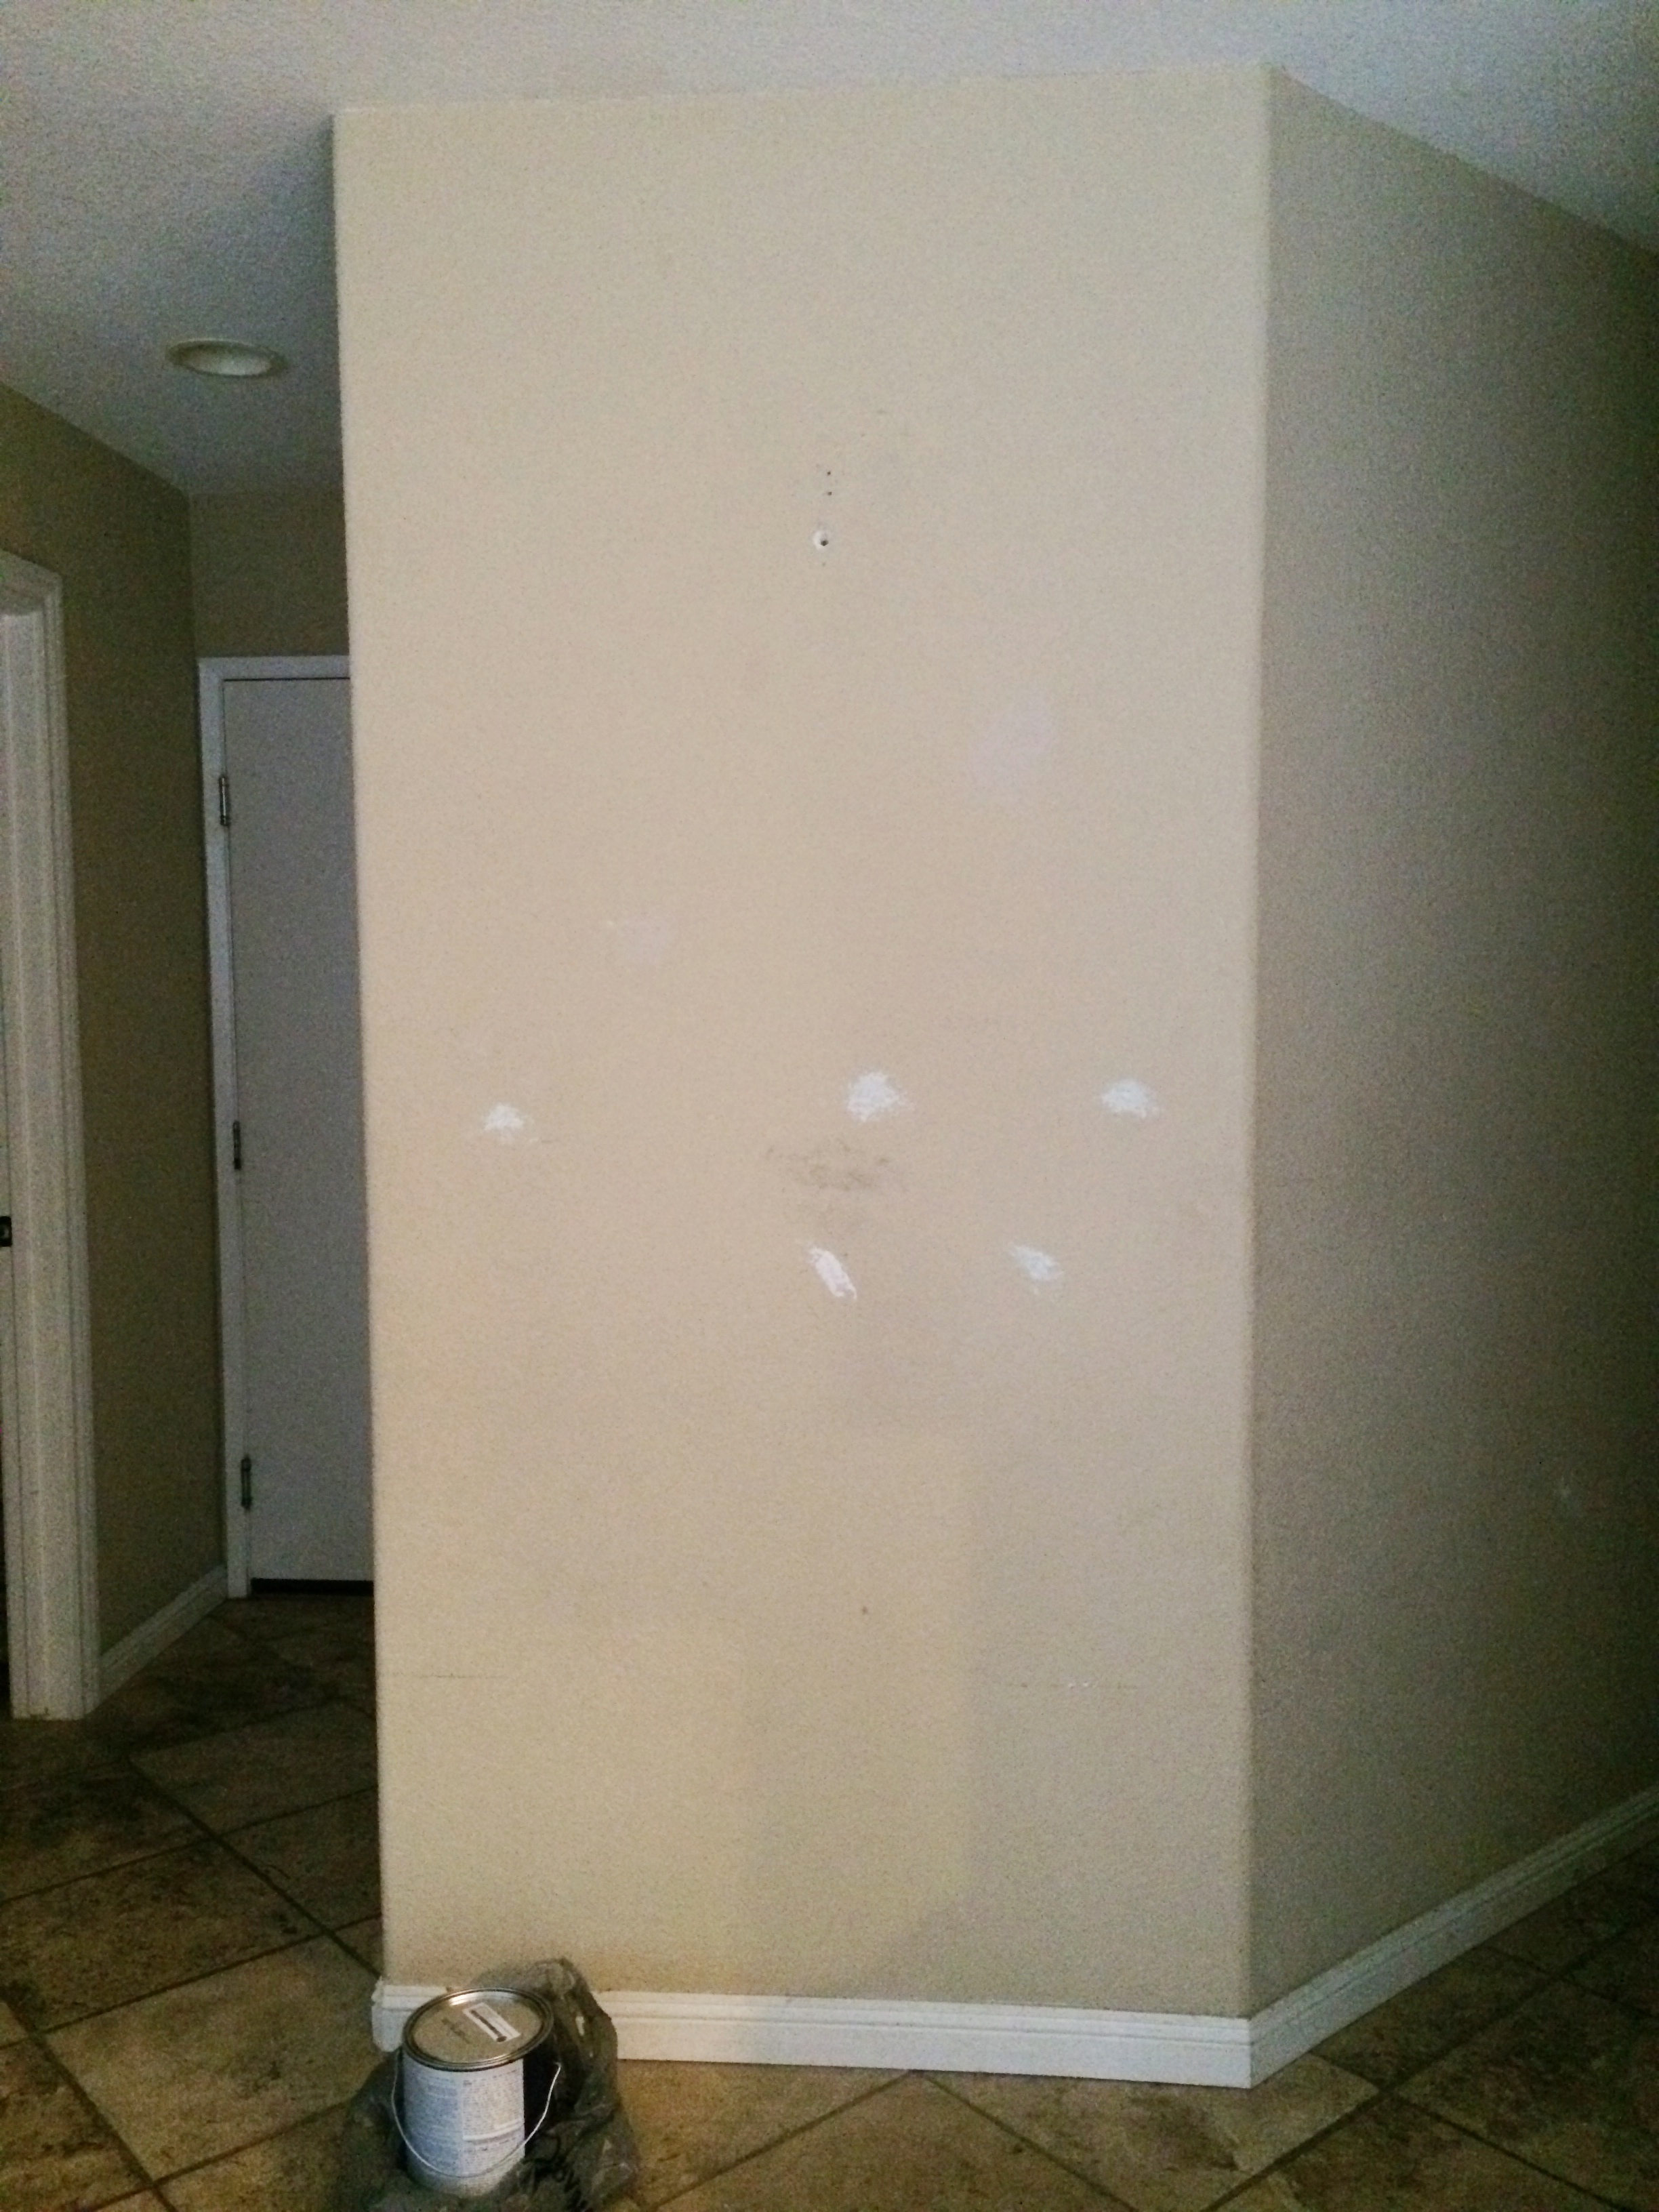
Notice the boring beige paint (which I have sworn to vanquish from the house, wall by wall). We were using an Ikea frame as a ‘dry erase’ board…and yes, we do still have to spray the outside of our house for spiders. The frame was convenient, cheap, and the background was interchangeable. To the left were cork circles which were covered in my son’s old t-shirts. The small bench at the base of the wall had also belonged to my son. This wall had been good to us for the last 2 years but it needed a facelift in order to really represent our style. Queue —> Chalk board wall idea!
I obsessed over the possibilities of a chalk wall for almost an entire week leading up to our weekend. I decided I would take most of our existing functional wall items and place them on top of the completed chalk board. This thing was gonna be huge!

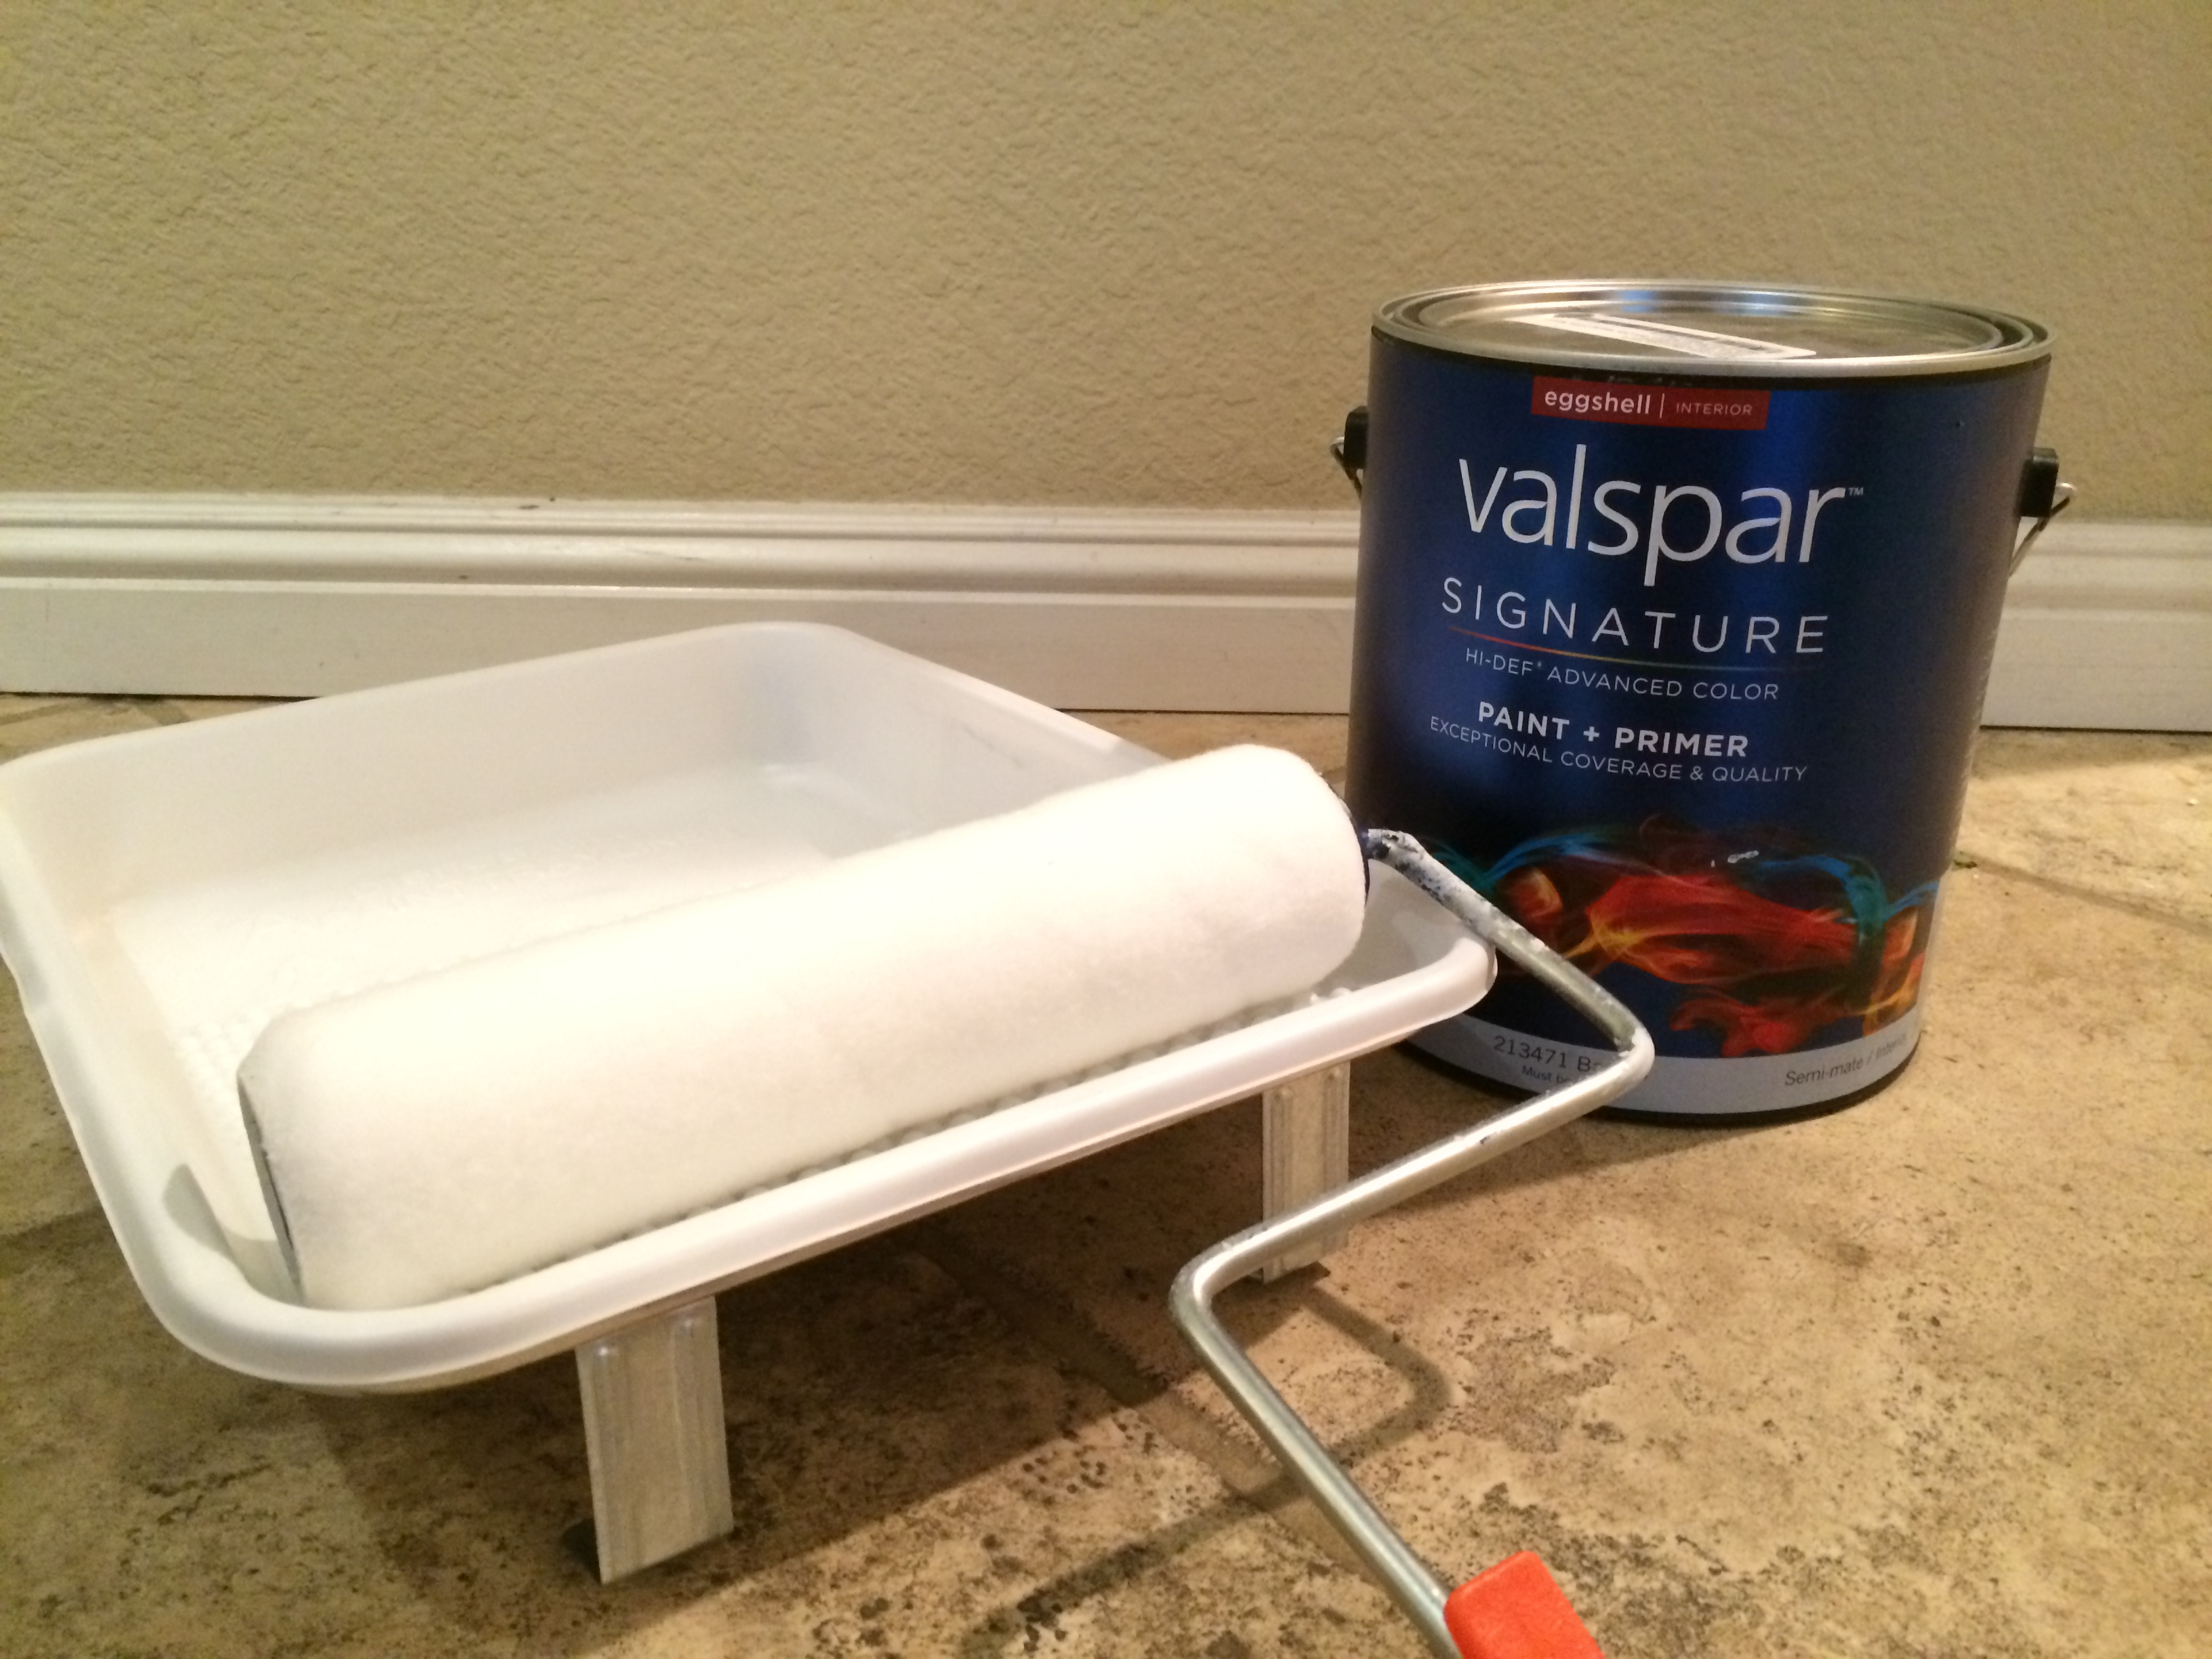
Our walls have a medium texture to them and there is no way putting the chalk paint directly onto the wall was going to give good chalk writing results. This project was going to need an additional surface for the actual chalk board. But before we could start on the board portion, might as well start from scratch with a fresh coat of awesome paint on the walls. I chose Valspar’s Crucibal which is a cool dark gray.
Before:
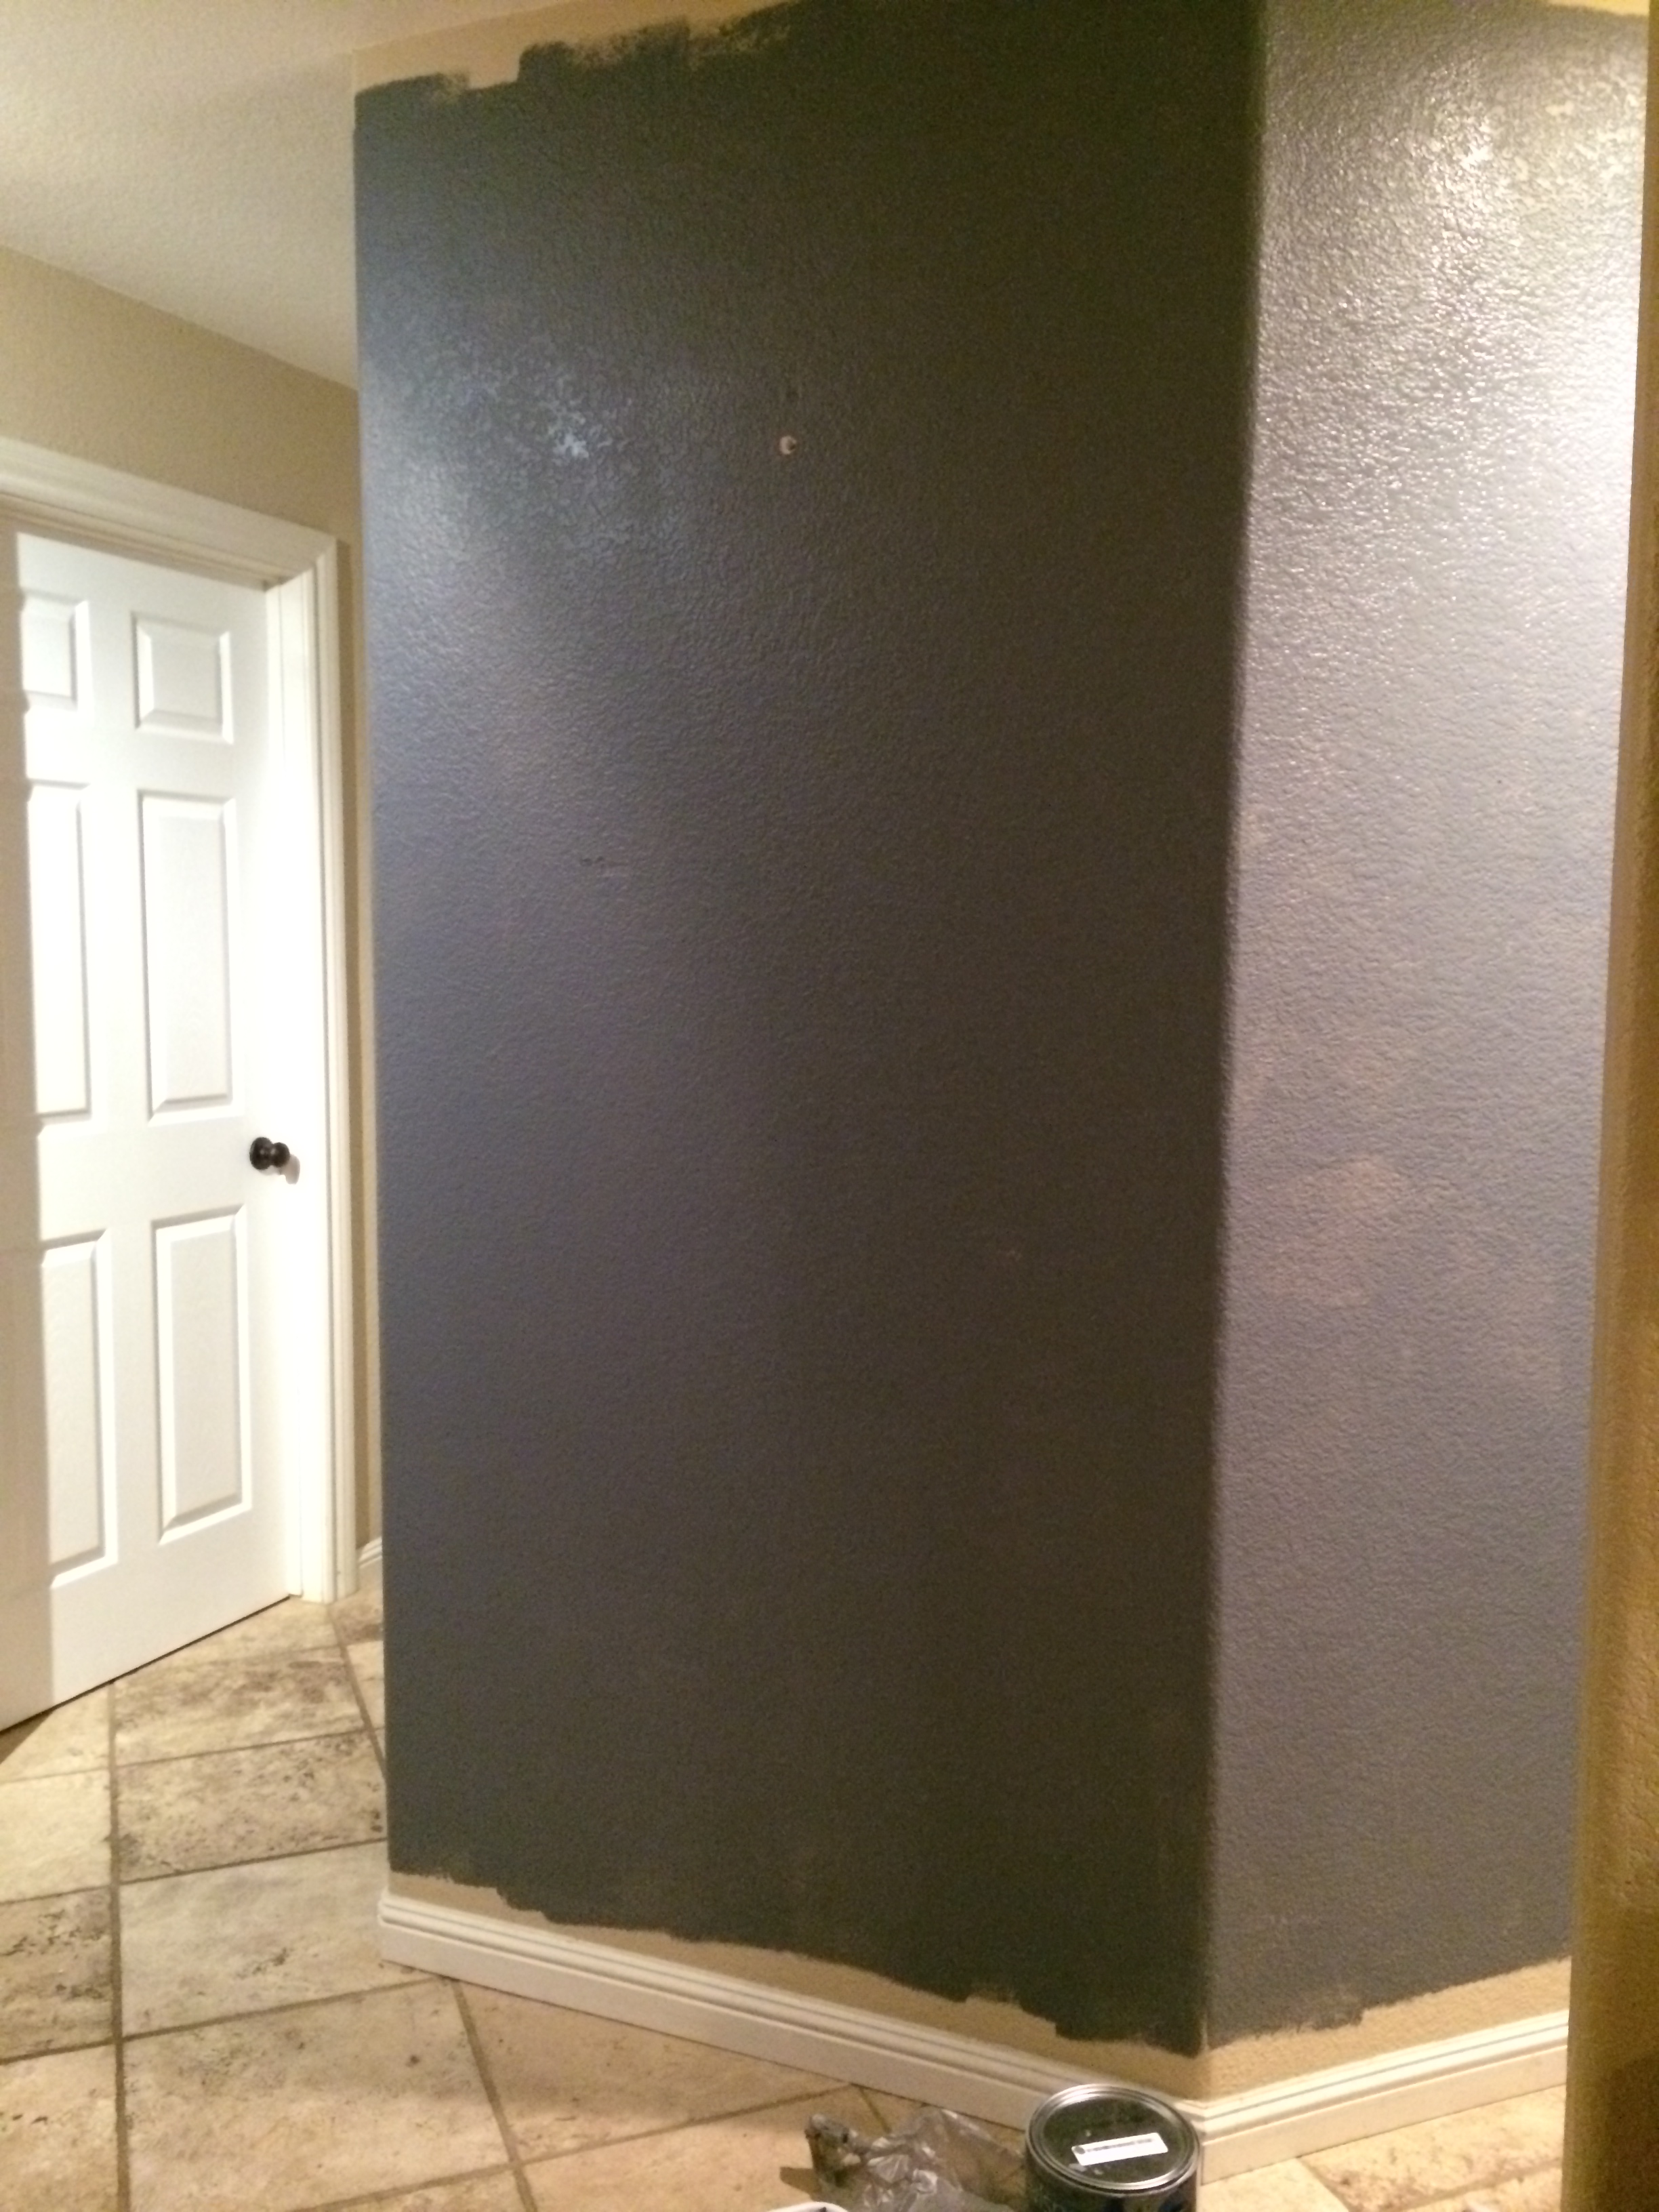
During paint… already much much better!
With the wall waiting for a second coat, it was time to multitask and get started on the chalk board. After a trip to Lowe’s for some MDF board (cut to size) I set up my painting party in the garage. Unfortunately the MDF board was not pre-primed so had to start with 2 coats of that first.

In between coats of paint on the MDF, I continued with the paint inside, and also started the paint on the trim we were going to be using to frame the board. Told you, multitasking to the max.

Meanwhile…. also working very hard…

Then making sure to use a good mini roller, time for special guest… chalk paint.

Instructions called for 2 coats, but to be safe I did a total of 3.

Slowly coming together
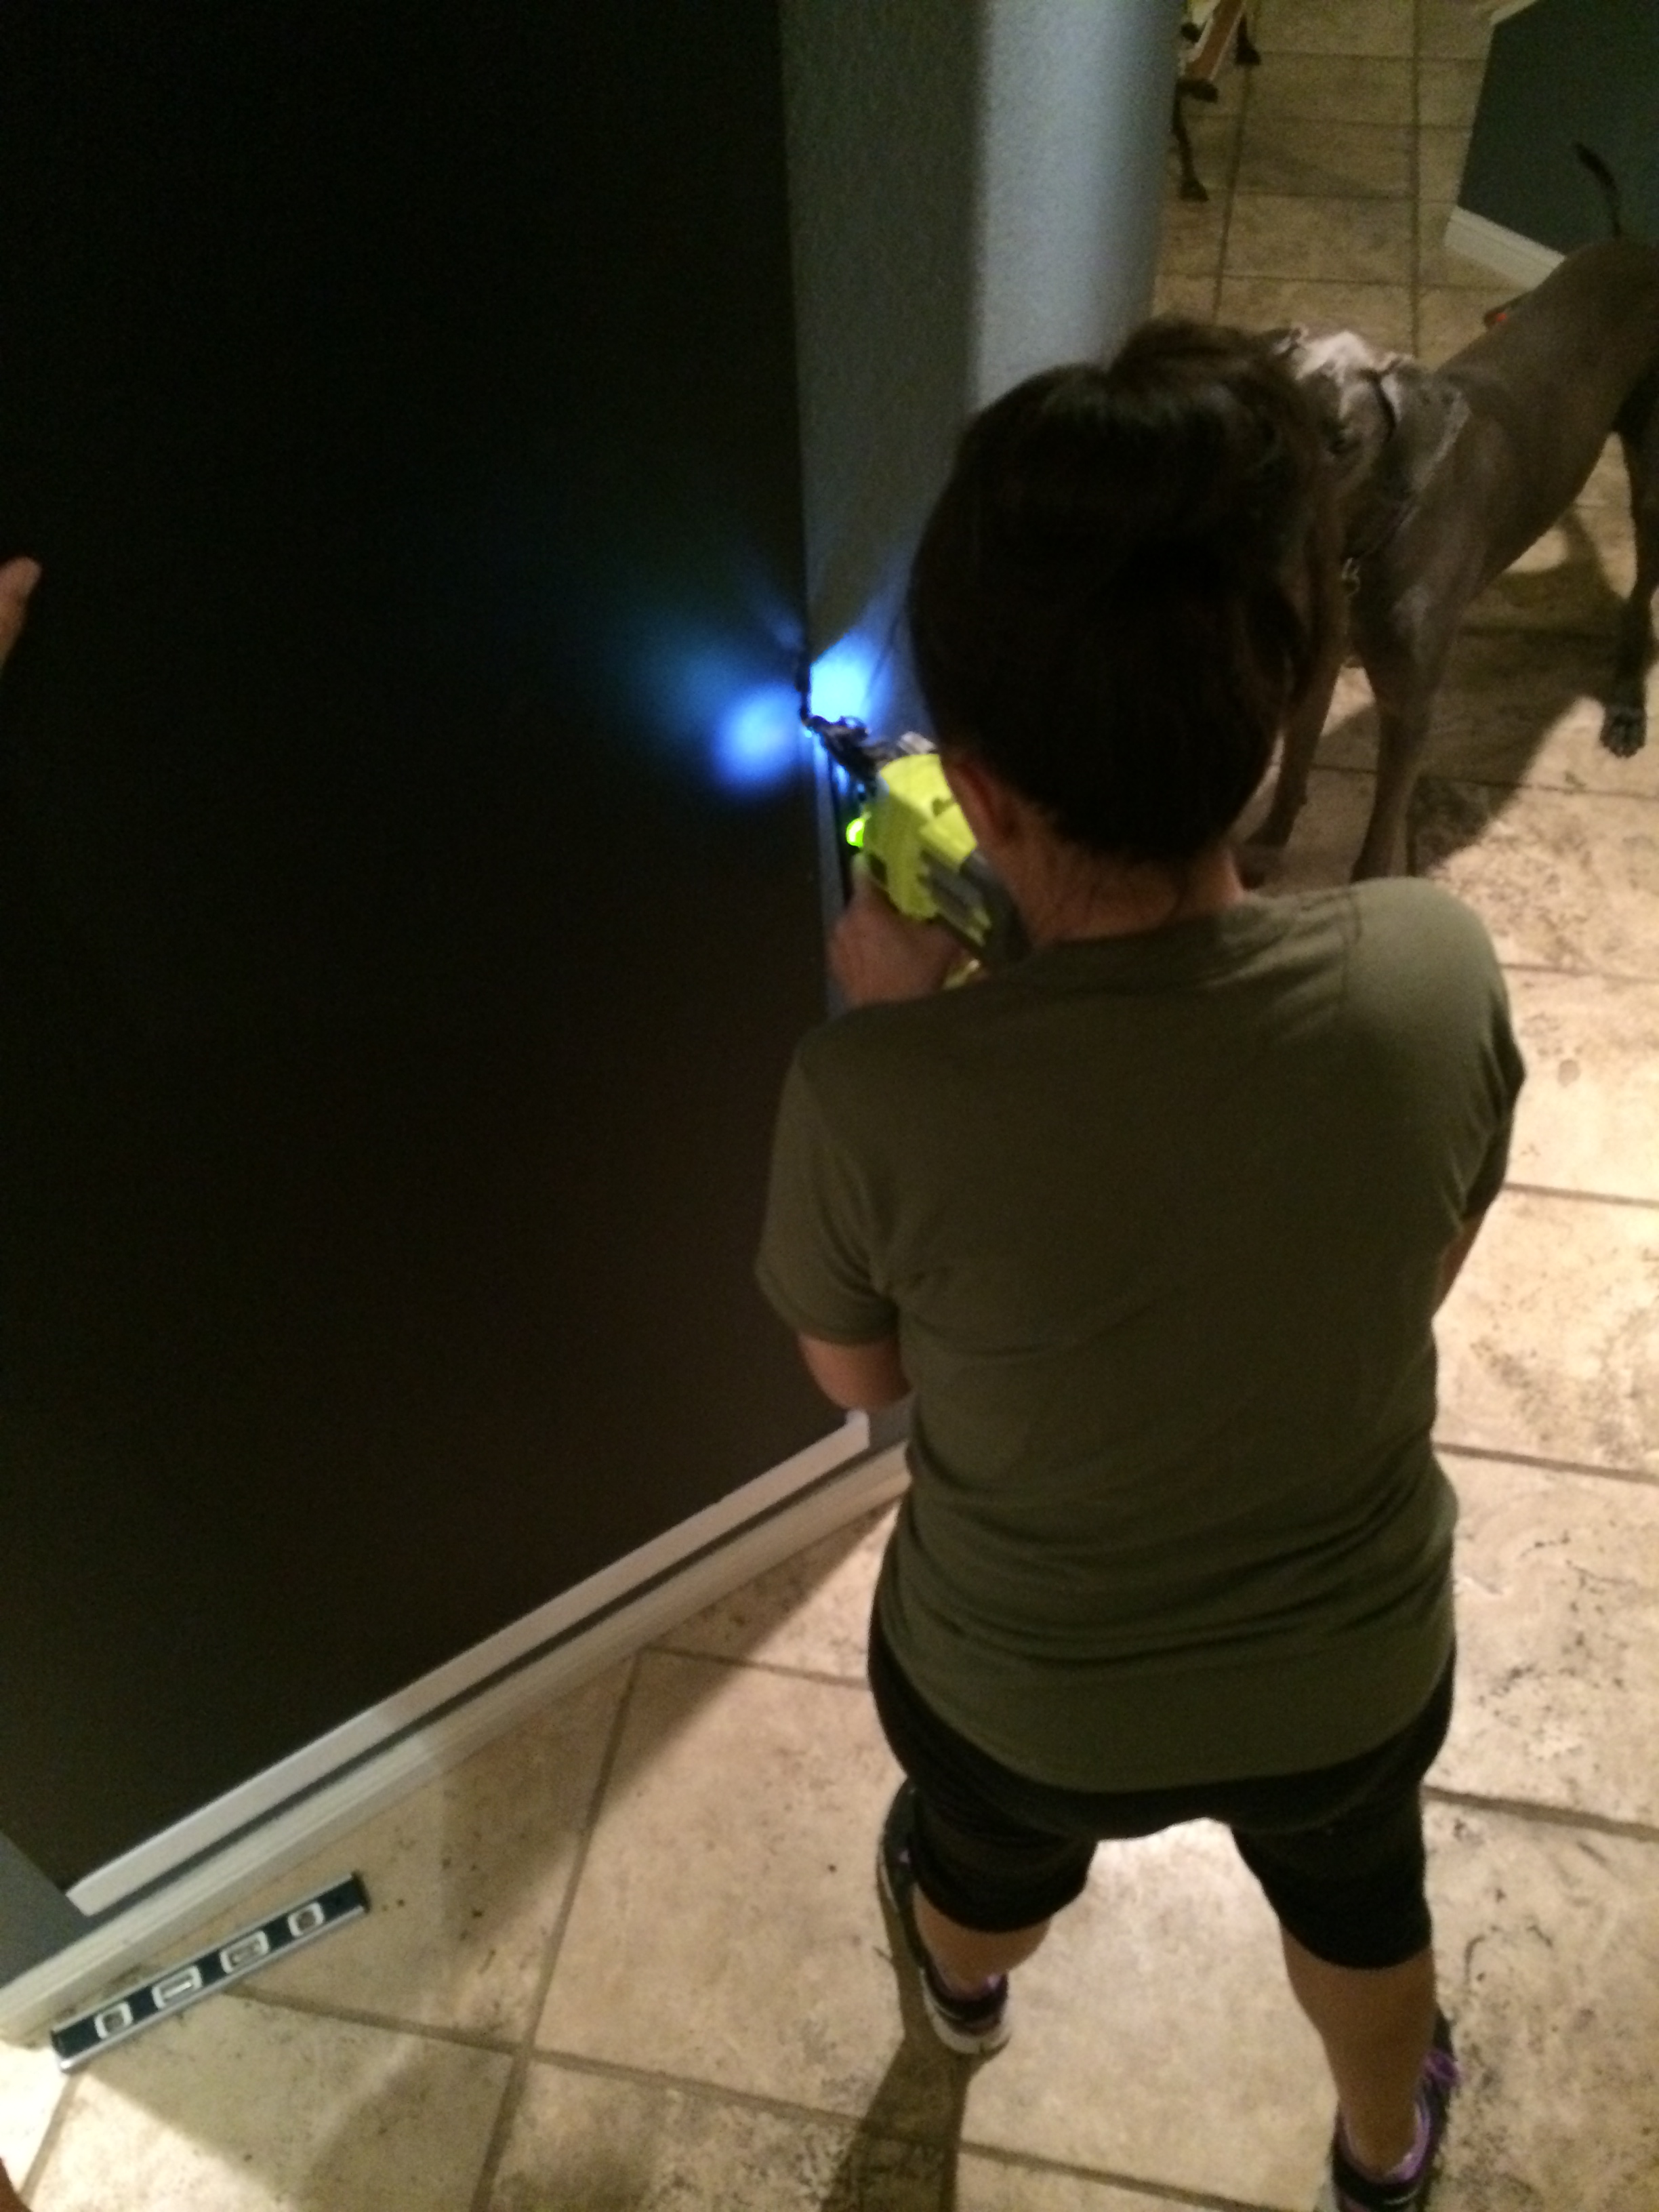
 All of the paint was finally dry at about midnight, but nothing was going to stop us from putting this bad boy up on the wall.
(Ivy was very curious of the power tools)
We got the molding pieces up around the border and it was turning out better than I had hoped. Now time for the accessories!
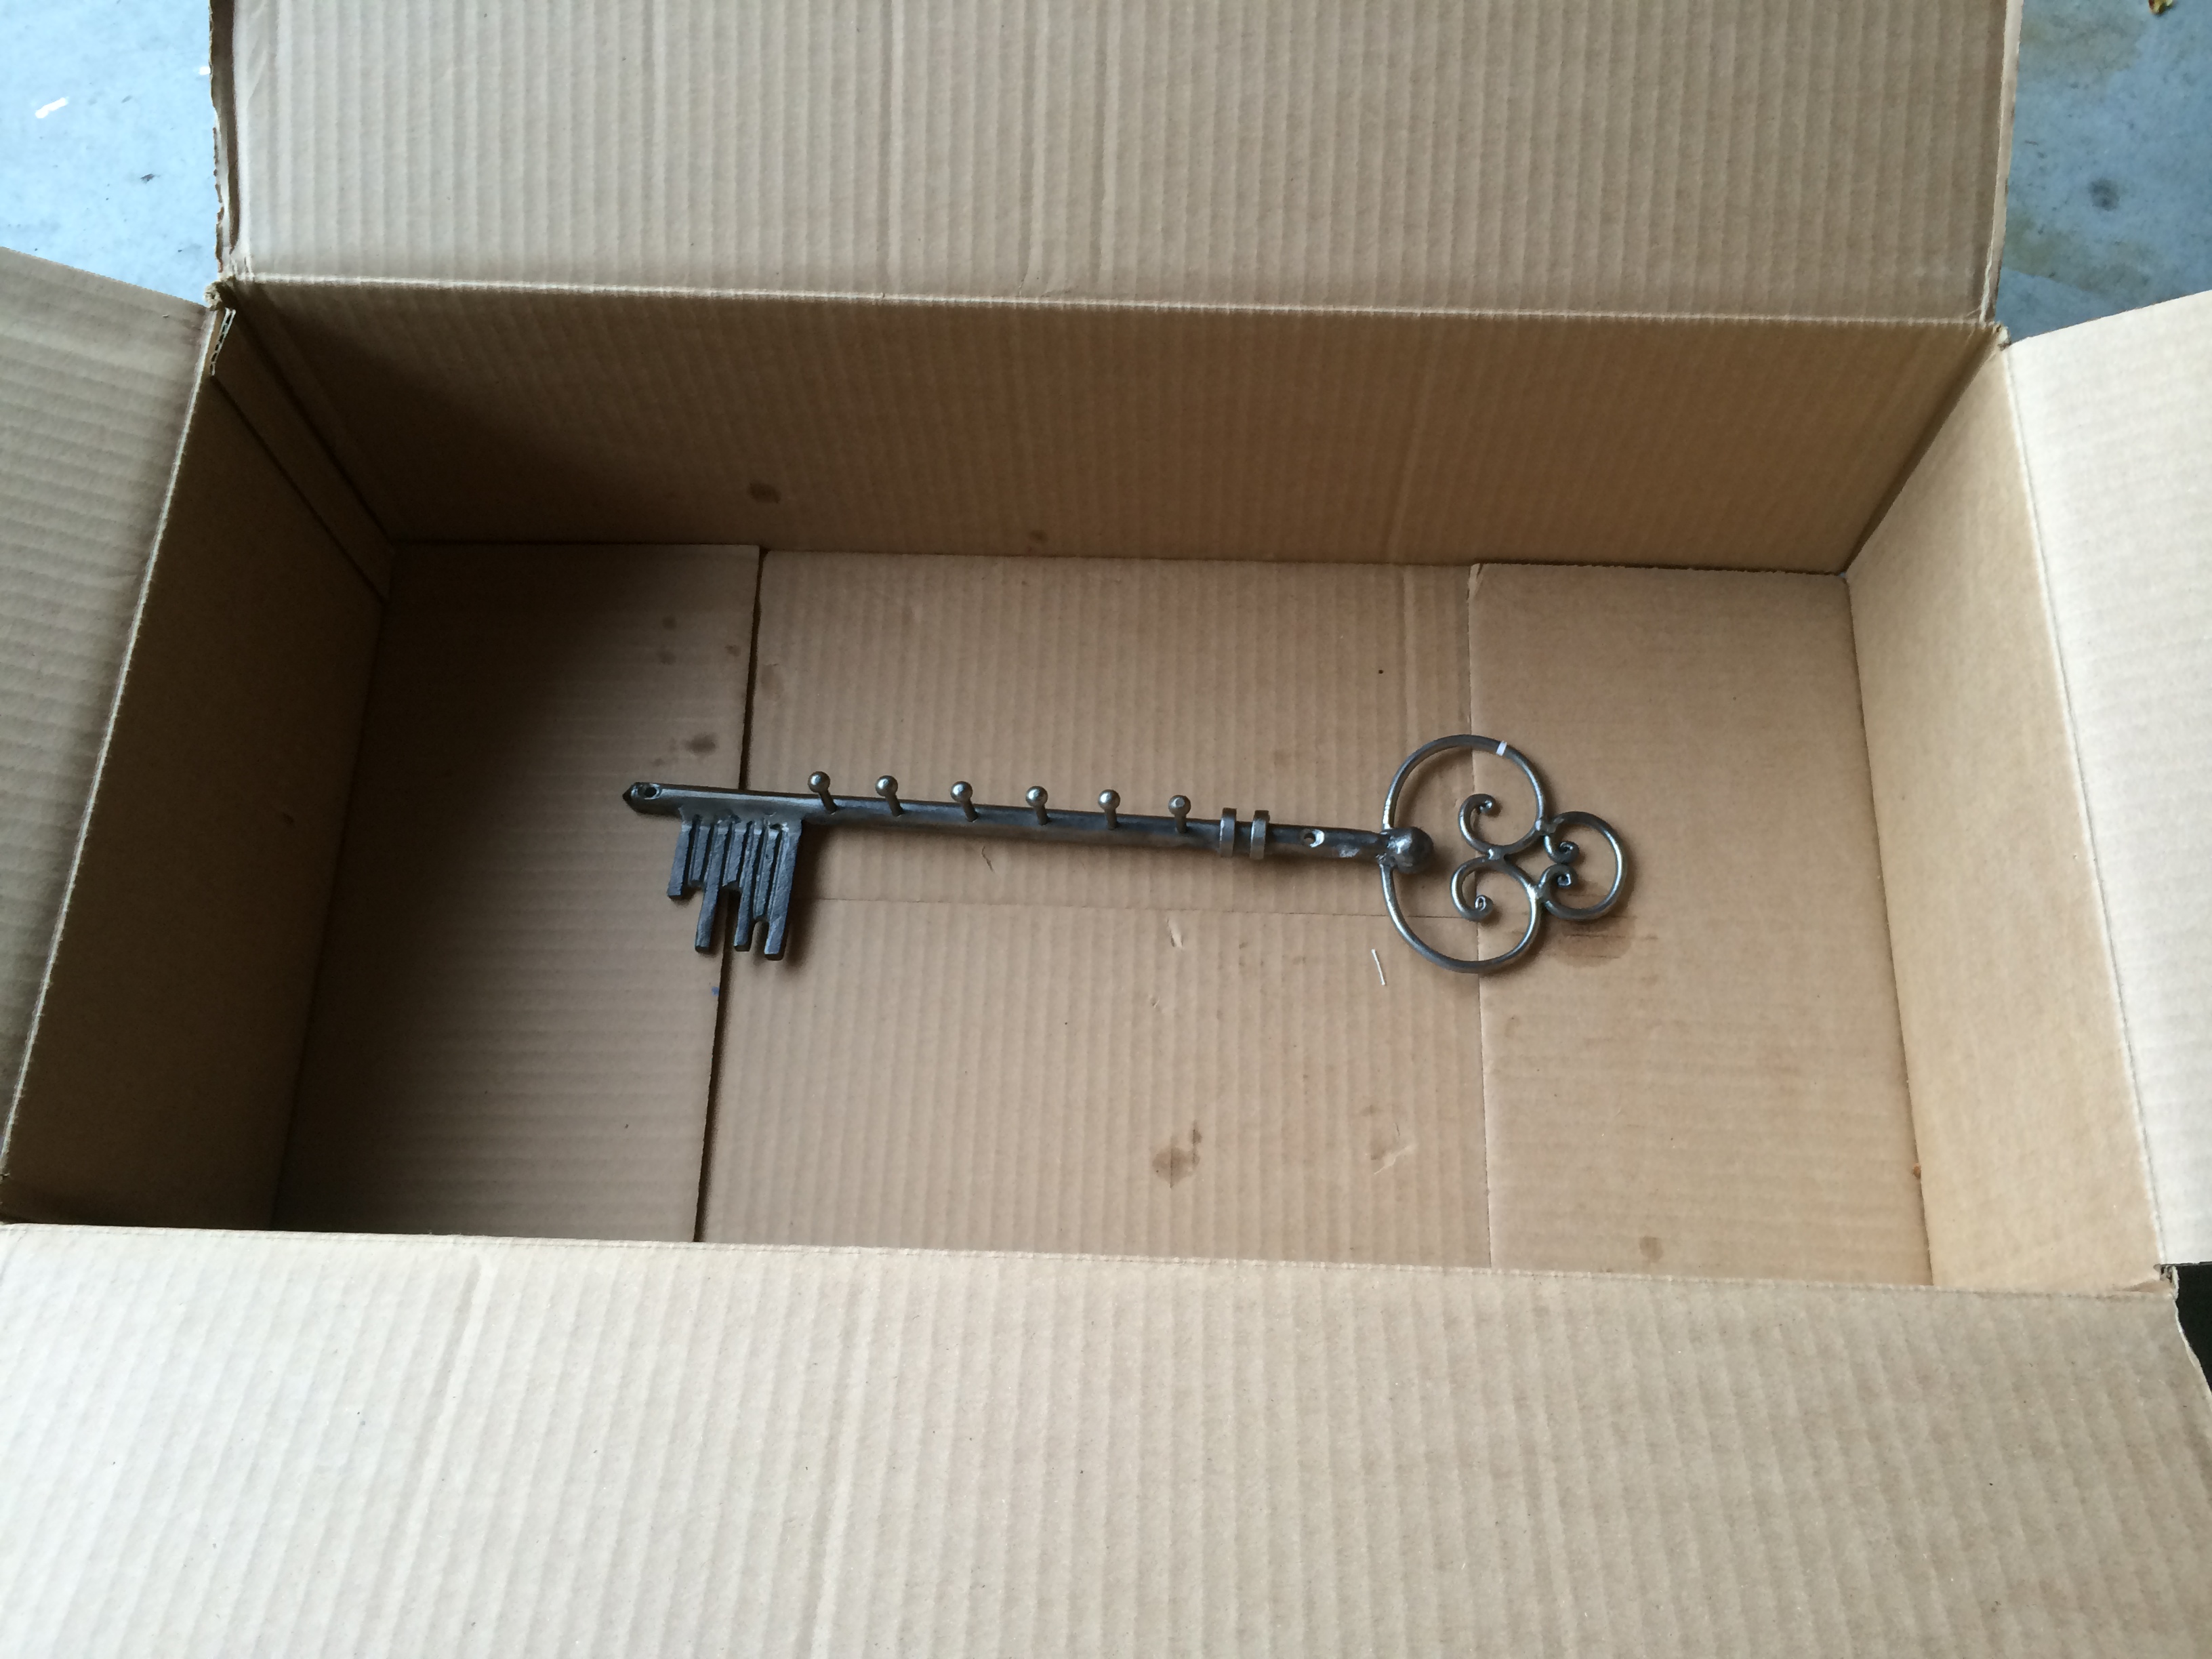
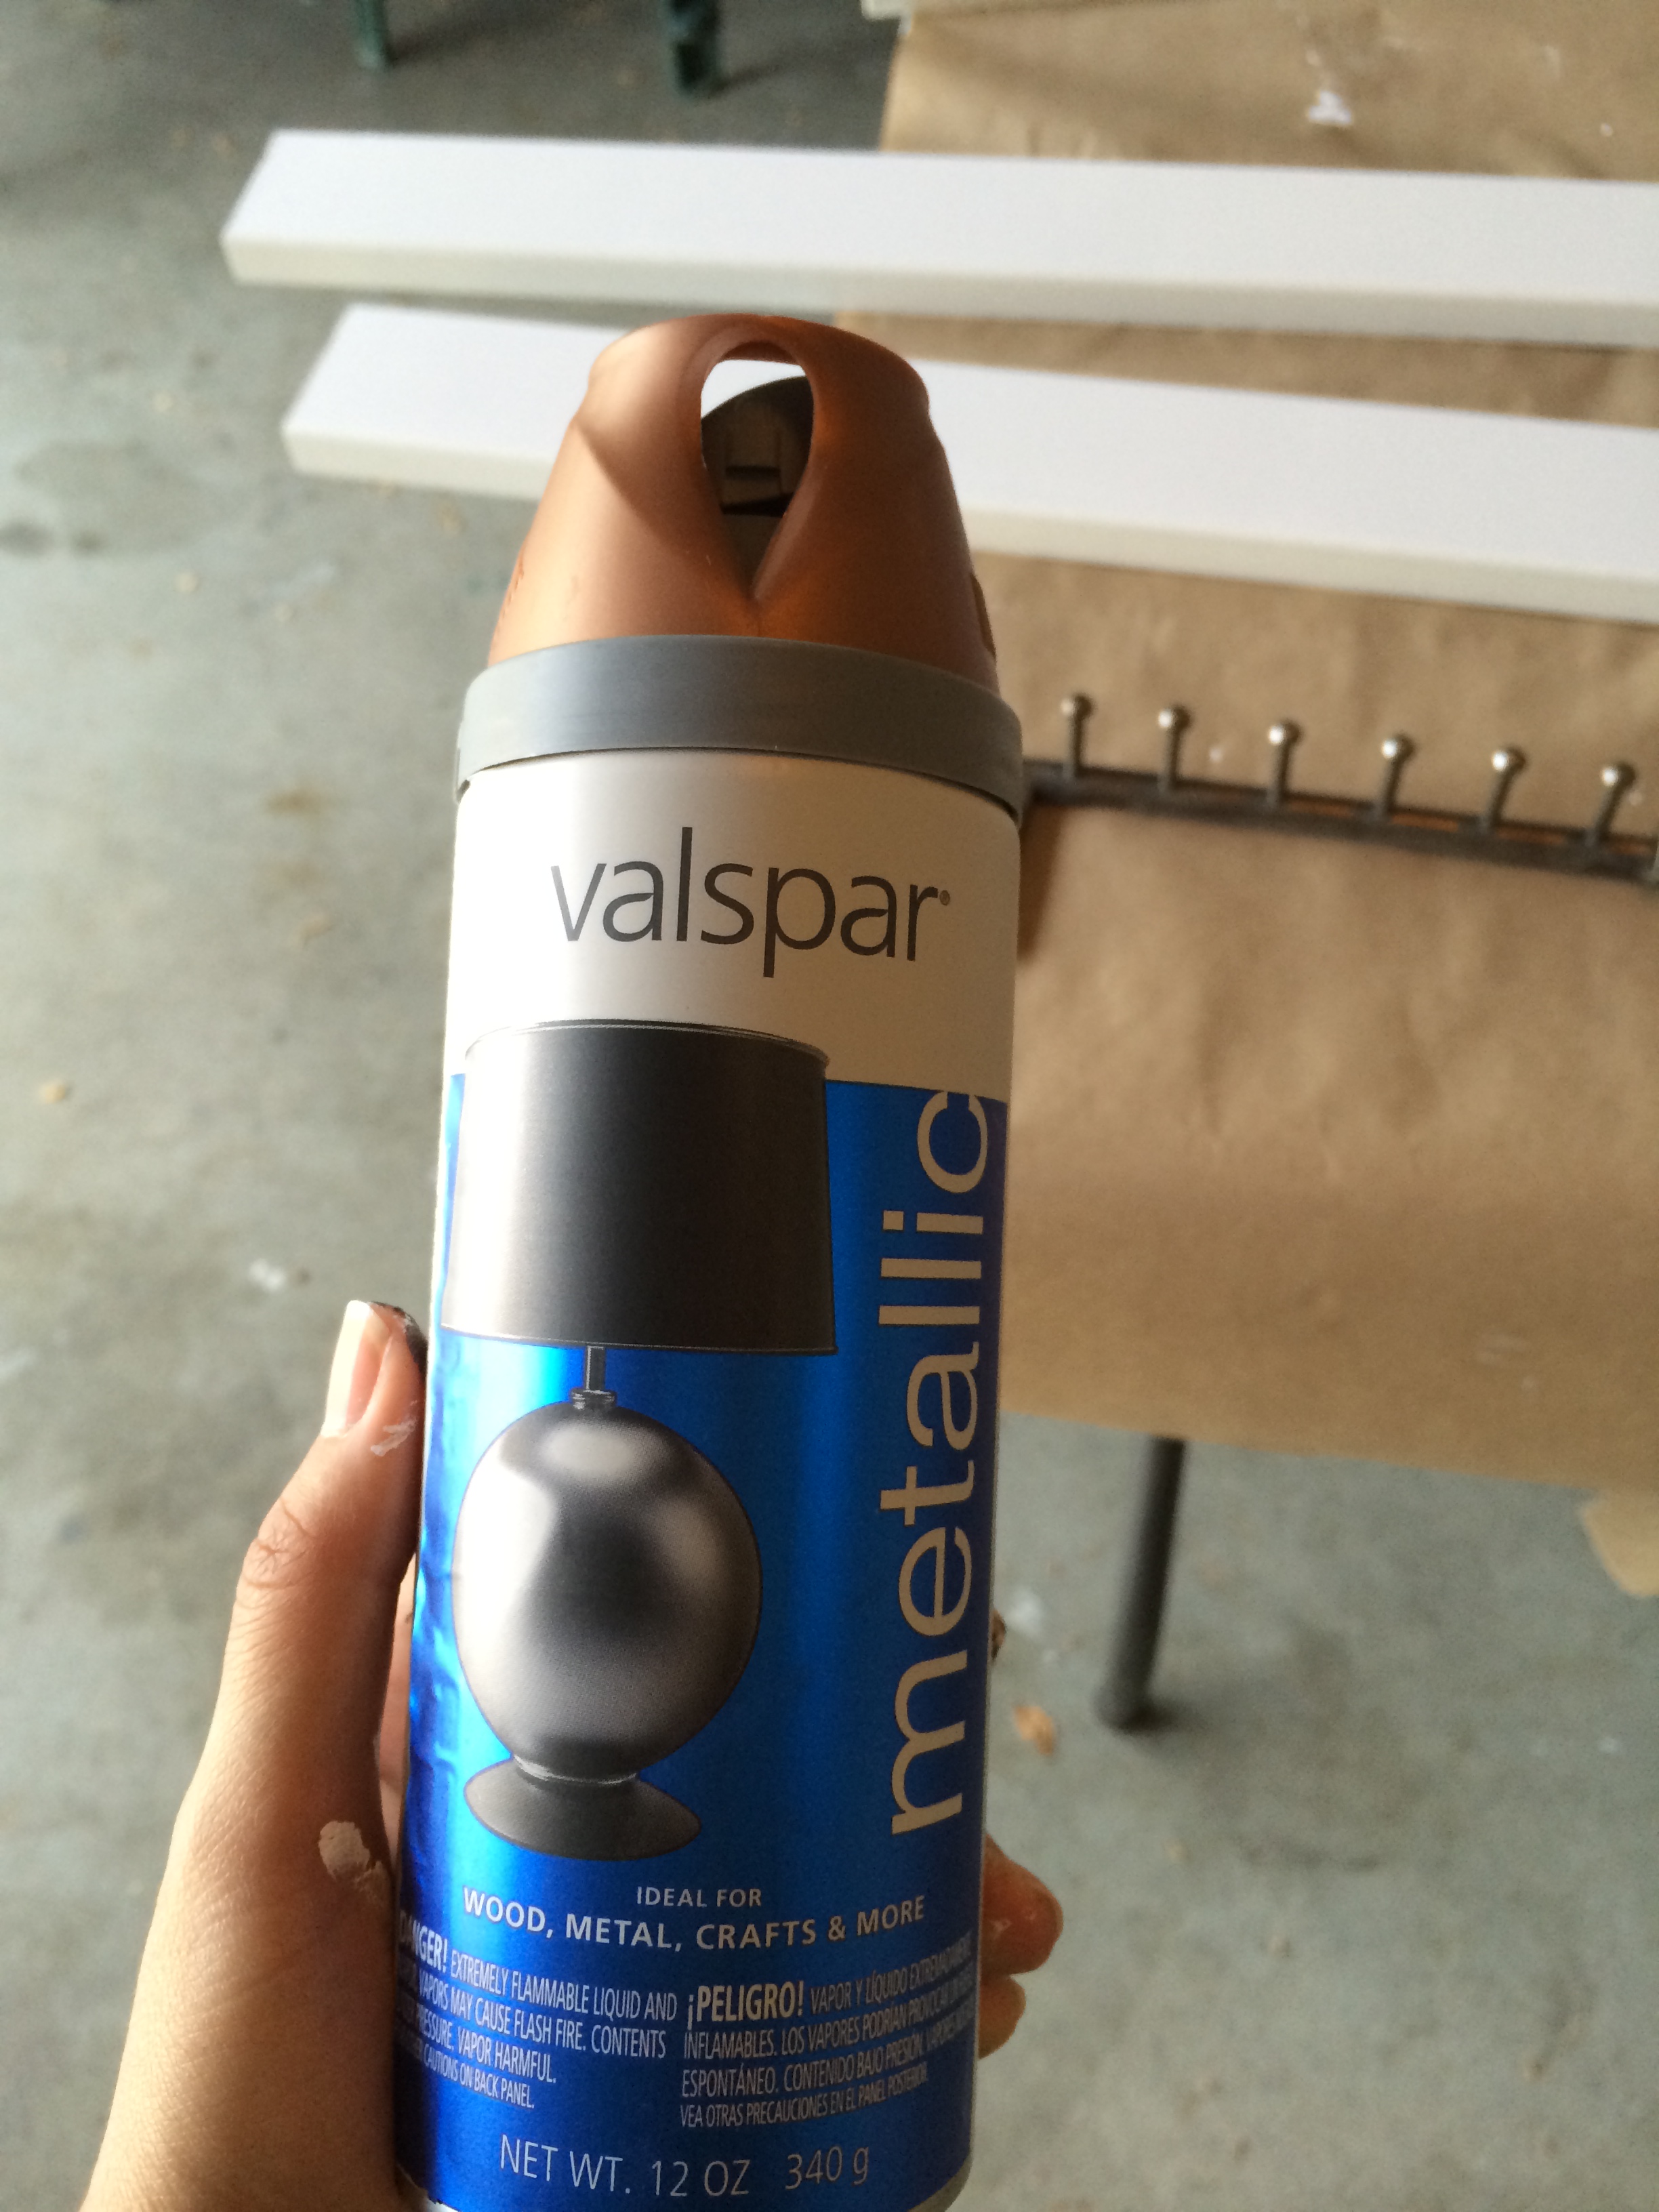
This key holder has been with us from the beginning. But it needed a pick me up. So I prepped it in my ‘paint booth’ for a fresh coat of amazing copper paint.
Valspar’s metallic copper spray is the best!!
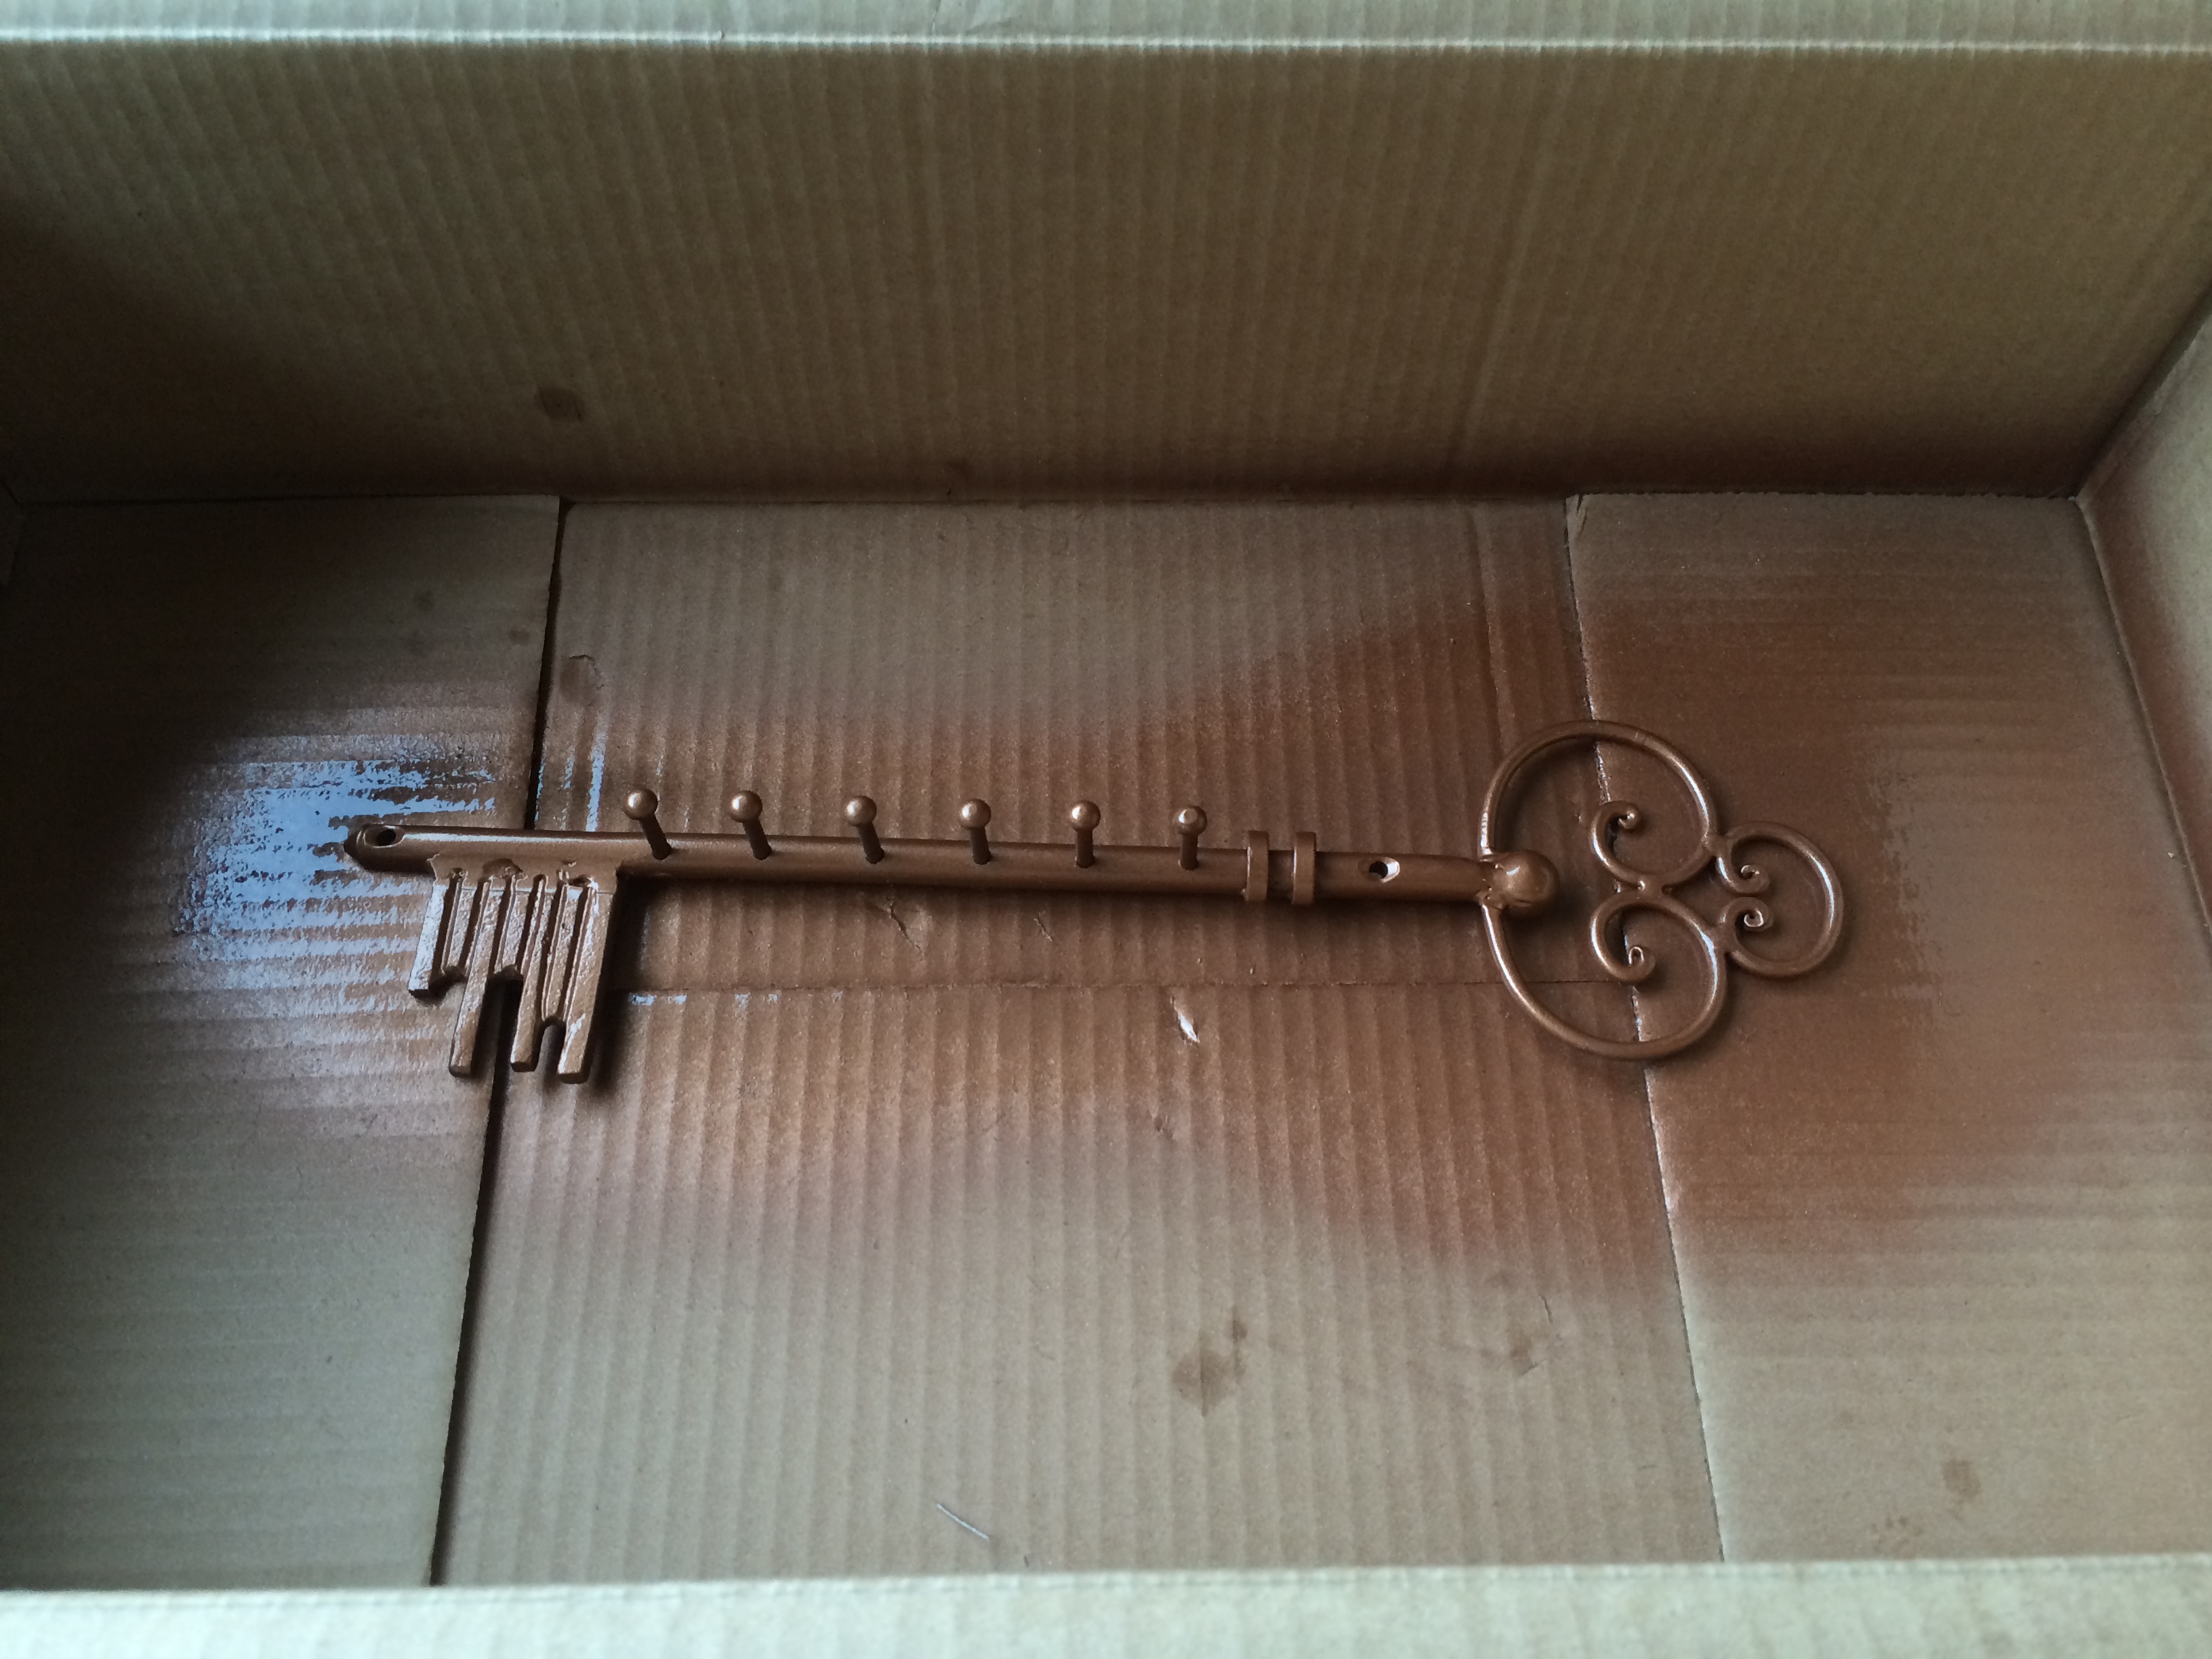
Approx 10 seconds later…
Ok, 1 more copper make over before the final reveal…. I rescued this tin from its fate in the recycling bin, and was going to turn it into our new mail holder! Don’t see my vision yet? Just wait…

Tada!!

The key looks brand new and the recycled chocolate tin is perfect for storage!! The copper looks ahhhh-mazing against the black chalk paint! Im obsessed with this color combo now.
Feels like a brand new space and all we did was add paint. The small cork boards have their place on the lower right side now. The top half of the board is for chalk art.

It was grueling waiting for the chalk paint to cure the necessary time before writing on it!!
Just a couple more things to finish and my chalk board #rockwhatyagotparty will be complete!
It looks great and I love the idea with the tin. Can’t wait to see your chalk art 🙂
looks amazing..