
This phrase has been on my mind for a long time now. Saw it first floating around on Pinterest, of course. I have plenty of empty wall space screaming at me for good ideas. I love how the “Be The Good” stands out from the whole thing! This is going to make a great daily reminder.
I thought about different materials to use….vinyl letters, canvass, new wood, old wood… Heather has become my salvaged wood supplier and she was able to score these amazing old fence boards for me. Old wood it is! The fence boards were perfect.

Before I start any project I make sure to gather materials and lay everything out visualizing the end result. Don’t wanna start something only to find out after all the hard work that preventable mistakes were made.
After a run to the craft store for some acrylic paint, stencil letters, and small brushes, we were ready to get started. Luckily the smaller bottles of paint were on sale for .97 cents!
 I grabbed the first board and Ivy assumed the duties of quality inspector. As you can see the wood is not perfect or smooth. It is old, weathered, and has lots of character. This makes for a very interesting art piece but present its challenges when it comes to painting letters onto it. I knew right away my letters were not going to be perfect, and I had to convince myself that was ok! I chose to not sand or finish the boards in anyway.
After sorting out my 5 inch stencils, I did a dry run of the words and made sure to calculate the amount of space needed for every letter. I did not want to mess this up!
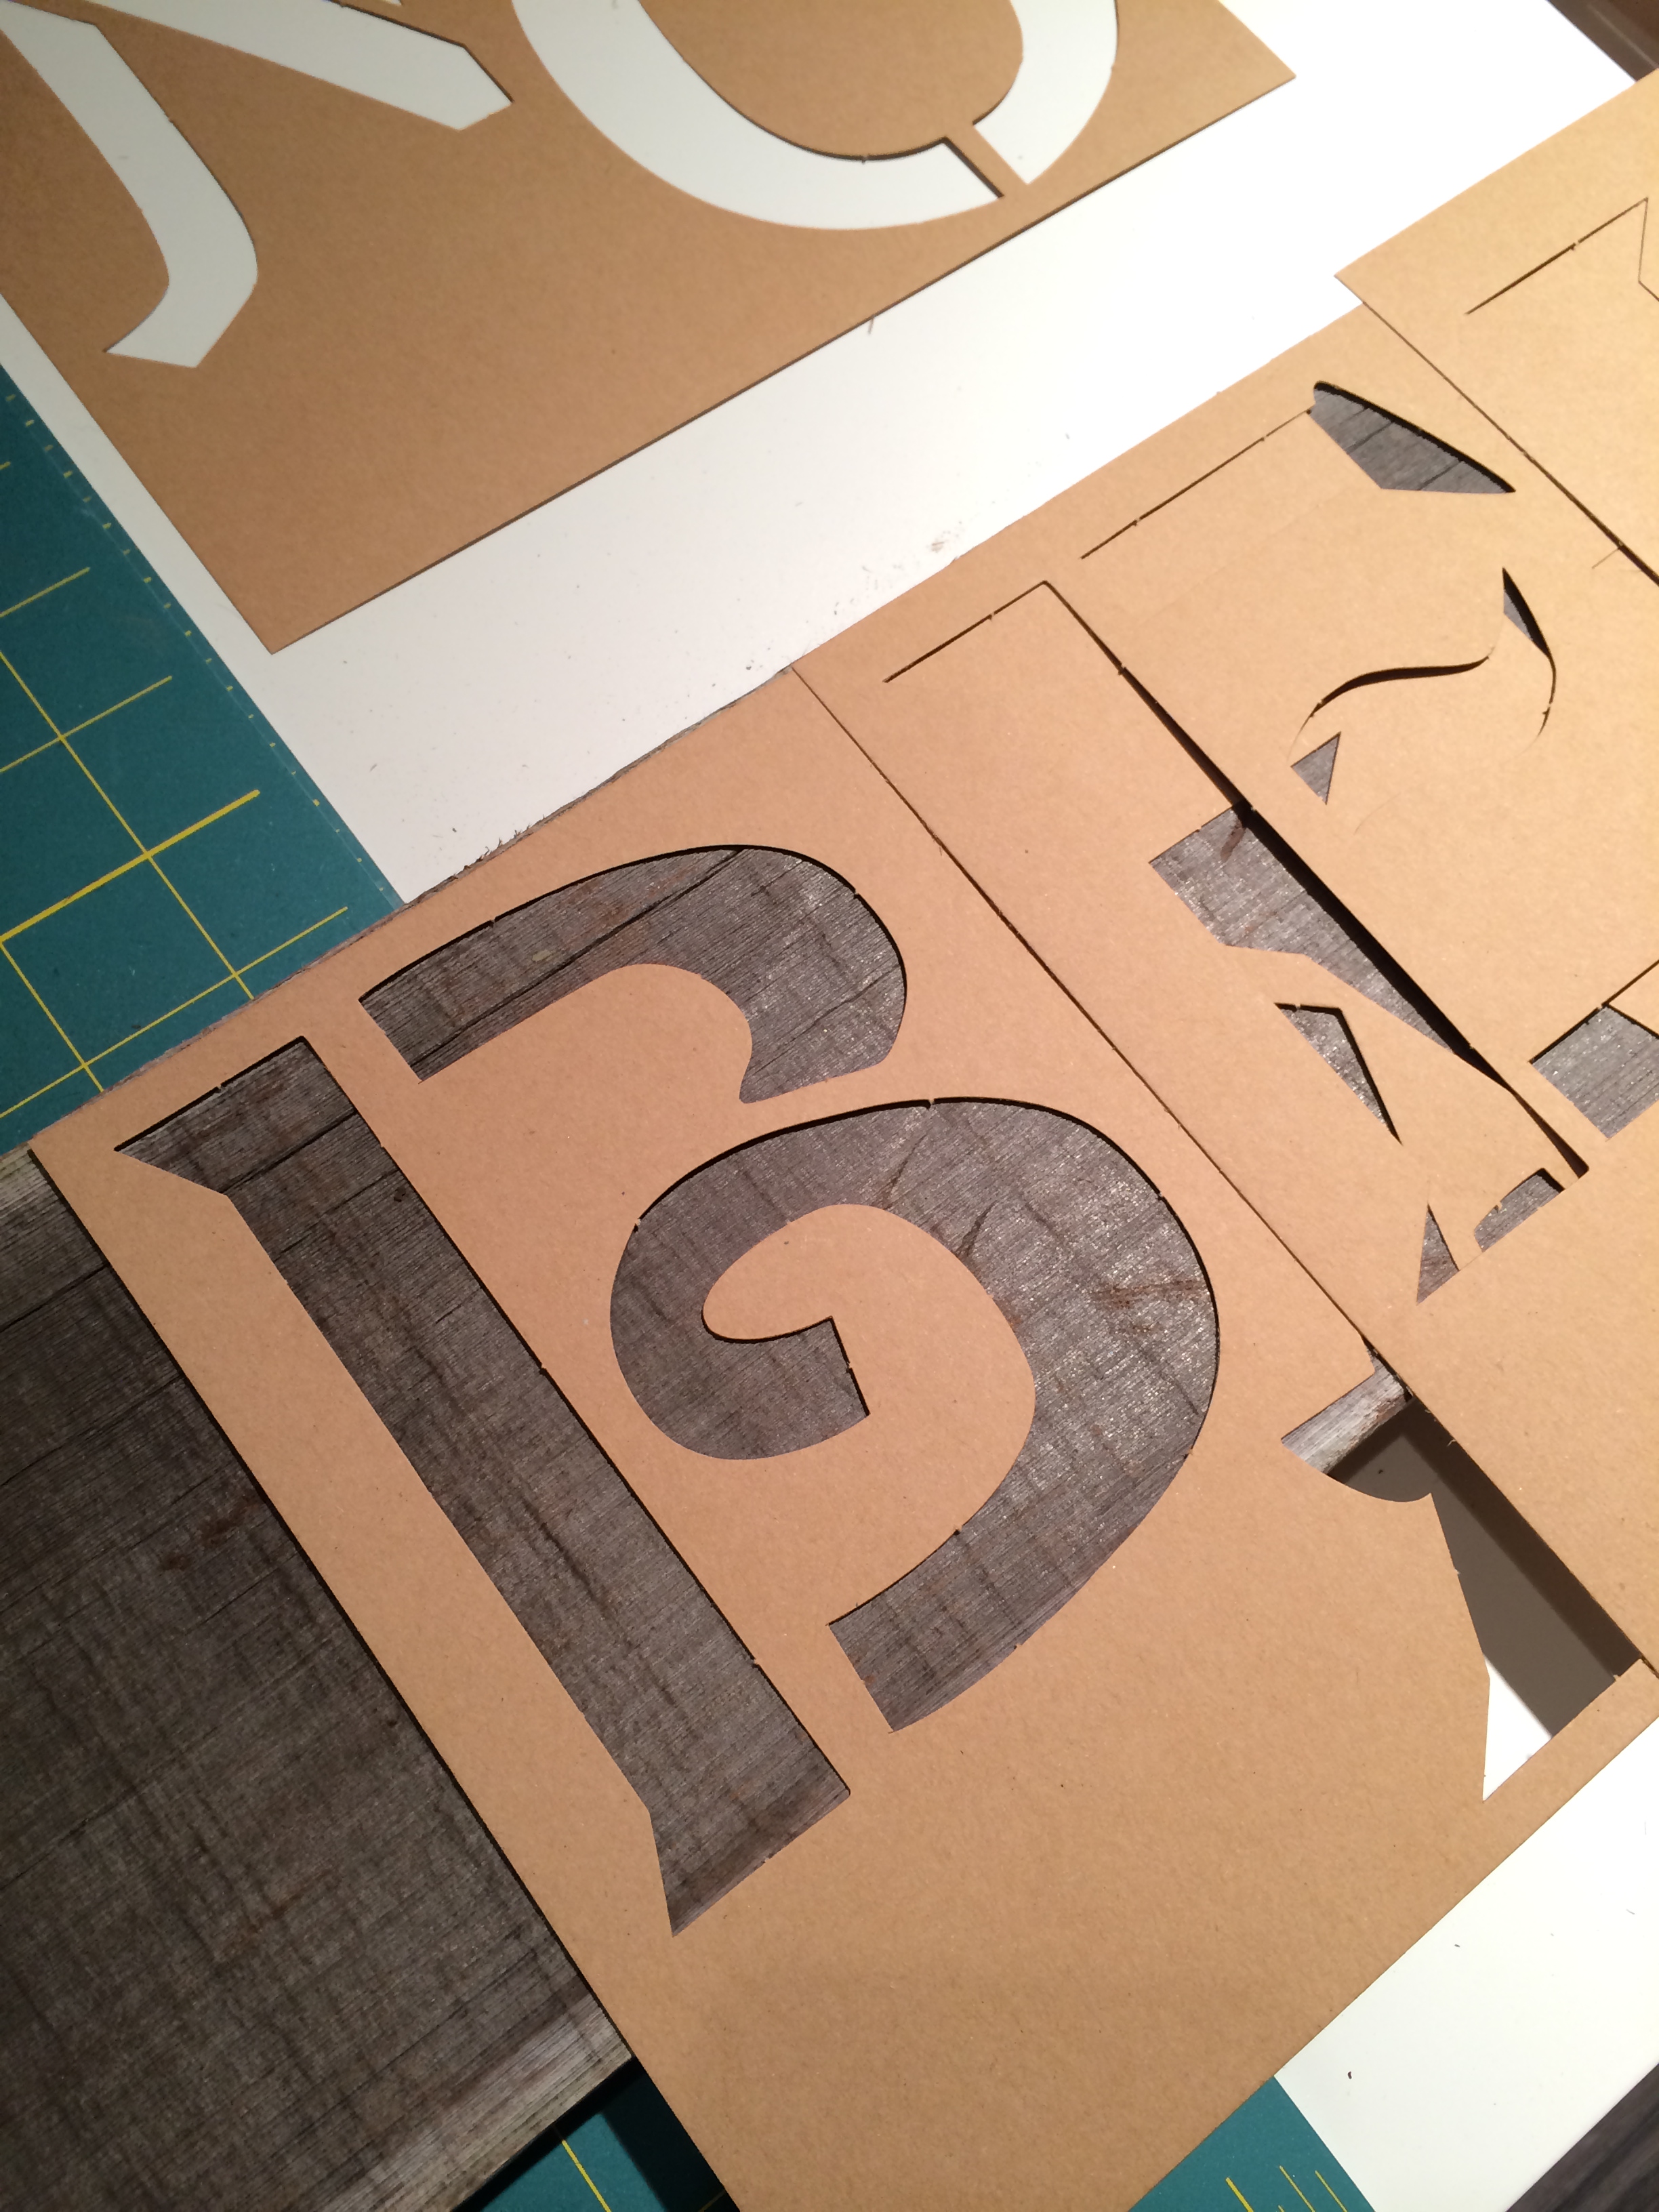
After I was confident my letters were in their correct places I began tracing directly on to the wood.

Because this wood was so dark and textured, this pencil that I started out with did not show very well, so I quickly switched to a pen.

I was glad I went with the stencils instead of trying to freehand the letters.

Board #1 complete!

Once all 4 boards were letter ready I began with the paint.

This was going to require 2 coats of paint to get some straight edges.

I was gonna be here a while…

Fast forward…. yay all done!

Now, how was I going to join all 4 board together and hang them on the wall?… hmmm.
After brainstorming a few ideas it was time for a trip to the hardware store. Came home with these little guys for just a few bucks.

The metal plates were going to make it easy to join the boards to one another without adding bulk to the back of the whole thing. I wanted the sign to hang flush with the wall and these pieces were going to make that possible. There are probably more efficient ways to do this and this might not be the correct way but it was going to work for me! I laid my boards face down and grabbed the tools.

Inspection time

I started with 2 screws into each plate and quickly realized I would need more for stability.

I kept going… then the hubby joined in on the fun.

Just in time to help me with the metal railing.

The mending plates do not have to be perfect, no one is going to see them. Because the boards are fairly lightweight the plates aren’t supporting very much.

After choosing the perfect spot on the wall and placing the other half of the rail on, we carefully flipped the whole thing over and mounted it onto the wall.
Its beautiful. I feel like I can make all kinds of signs now! With the gifted wood, this project cost me less than $15!!

*************
I don’t think Ivy got the message to “be the good”…

#bigdogproblems
The sign looks awesome. Love seeing the adventures of Ivy.
Thank you so much! – Ivy sends her love too =)
Thank youuu!!